StableCascade 可以做到 Text-to-Image、Image Variation、Image-to-Image,但有整合到 huggingface 的 diffusers 裡的,看起來只有 Text-to-Image (也有可能是我沒翻到)。
決定之後再把 StableCascade 架起來,現在先繼續用 diffusers 看能做些甚麼。
https://github.com/Stability-AI/StableCascade
https://huggingface.co/docs/diffusers/api/pipelines/stable_cascade
在文件裡翻了一下,雖然沒看到更多 StableCascade 相關資訊,但還是有其他選擇。
像 Image-to-image 就有說到可以用 Stable Diffusion 的兩個舊模型,table Diffusion v1.5、Stable Diffusion XL (SDXL)。
https://huggingface.co/docs/diffusers/using-diffusers/img2img
那接下來就單純了,反正 colab 都買了,就全部跑一輪來試試。
可能 StableCascade 架構比較不同,不好整合進去吧? 總之 Stable Diffusion 用起來更單純了。
先測一下 Text2Image。
如果開了新的環境記的還是要先裝 diffusers
pip install diffusers
把 torch 跟 diffusers 的 AutoPipelineForText2Image import 進來。
from diffusers import AutoPipelineForText2Image
import torch
print(torch.__version__)
print(torch.cuda.is_available())
把模型讀進來。
pipeline = AutoPipelineForText2Image.from_pretrained(
	"runwayml/stable-diffusion-v1-5",
    torch_dtype=torch.float16, variant="fp16"
).to("cuda")
下 prompt,然後就結束了。
image = pipeline(
  "A large, chubby orange tabby cat in the style of Japanese Ukiyo-e, placed according to the rule of thirds. The background is a traditional Japanese setting with cherry blossoms, and the cat has a calm, regal expression. The entire scene is detailed with fine brushstrokes, and the colors are vibrant yet harmonious. Ultra-detailed, 8k resolution."
).images[0]
image
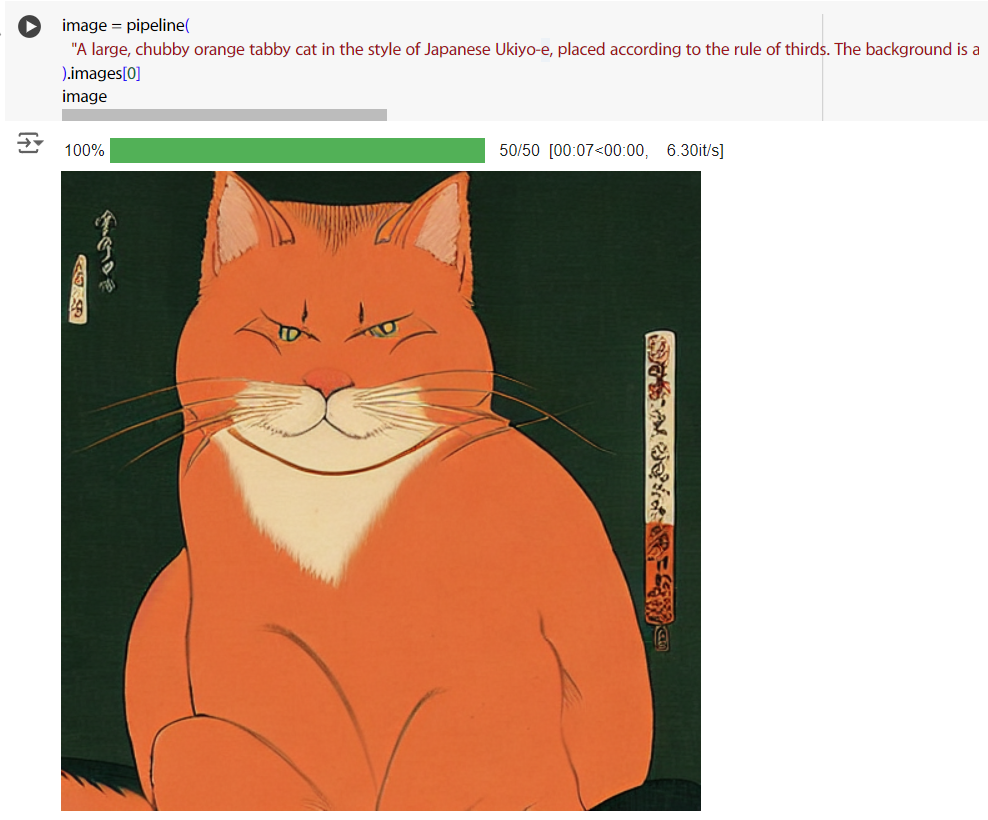
prompt 我還沒有研究,是 ChatGPT 4o 幫我生成的,真是便利。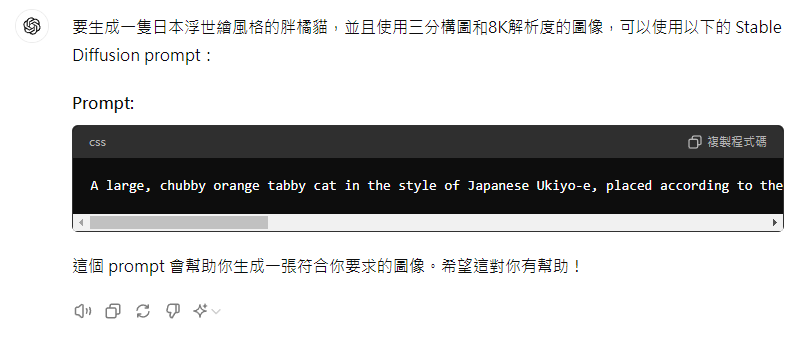
另外如果把這個 prompt 丟給 ChatGPT,產出的圖長這樣。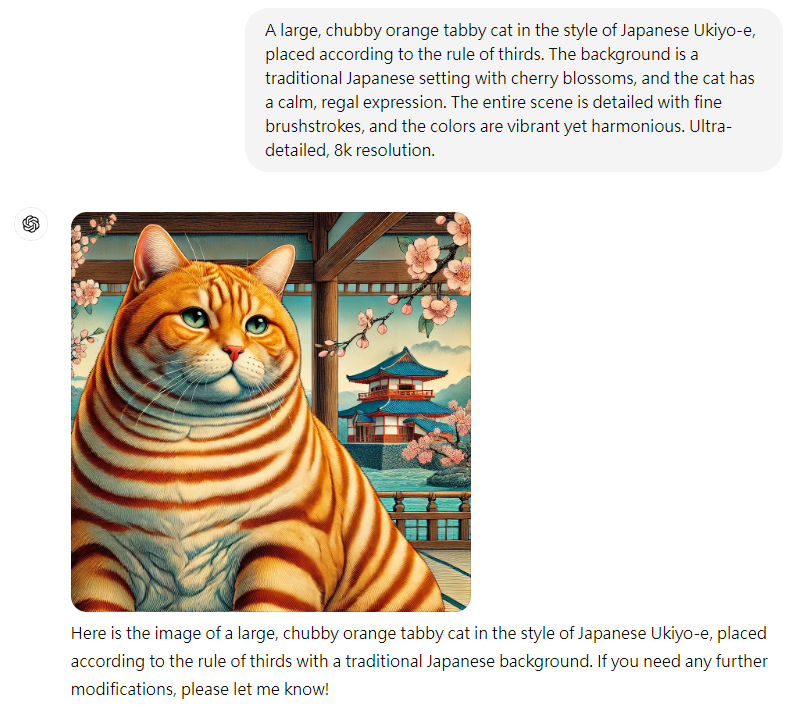
gemini 的版本。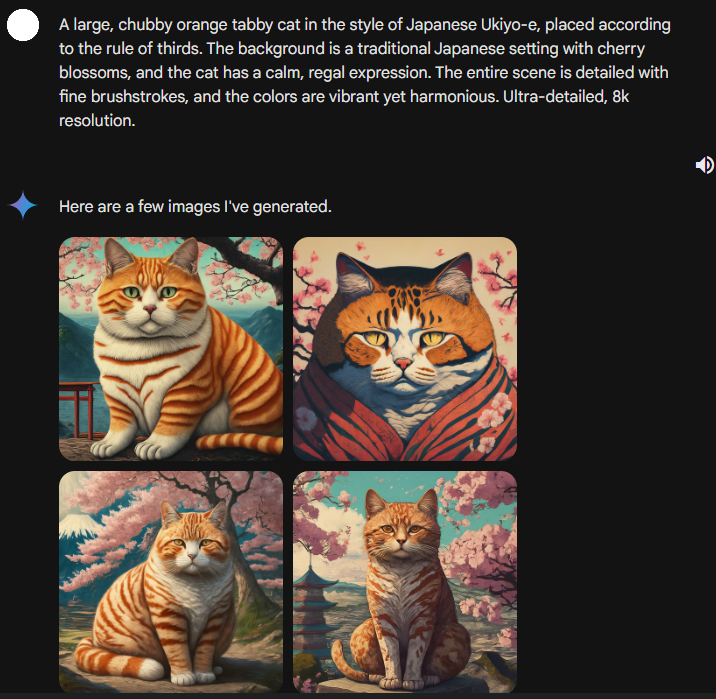
接著嘗試圖生圖。
把套件跟模型讀進來。常常出現的 enable_model_cpu_offload() 是用來降低 GPU 記憶體用量的,可以參考文檔說明。大致上就是說,Stable Diffusion 是多個模型組成的流程,使用 enable_model_cpu_offload(),會幫忙把沒有要用的模型移出 GPU。
https://huggingface.co/docs/diffusers/optimization/memory
https://huggingface.co/docs/diffusers/v0.30.1/en/api/pipelines/overview#diffusers.DiffusionPipeline.enable_model_cpu_offload
from diffusers import AutoPipelineForImage2Image
from diffusers.utils import make_image_grid, load_image
pipeline_Image2Image = AutoPipelineForImage2Image.from_pretrained(
    "runwayml/stable-diffusion-v1-5", torch_dtype=torch.float16, variant="fp16", use_safetensors=True
)
pipeline_Image2Image.enable_model_cpu_offload()
讀範例影像,下 prompt 生圖,然後把原圖跟生成的圖併在一起比較,左邊是原圖,右邊是生成的。感覺效果也不怎麼樣。
url = "https://huggingface.co/datasets/huggingface/documentation-images/resolve/main/diffusers/img2img-init.png"
init_image = load_image(url)
prompt = "Astronaut in a jungle, cold color palette, muted colors, detailed, 8k"
image = pipeline_Image2Image(prompt, image=init_image).images[0]
make_image_grid([init_image, image], rows=1, cols=2)
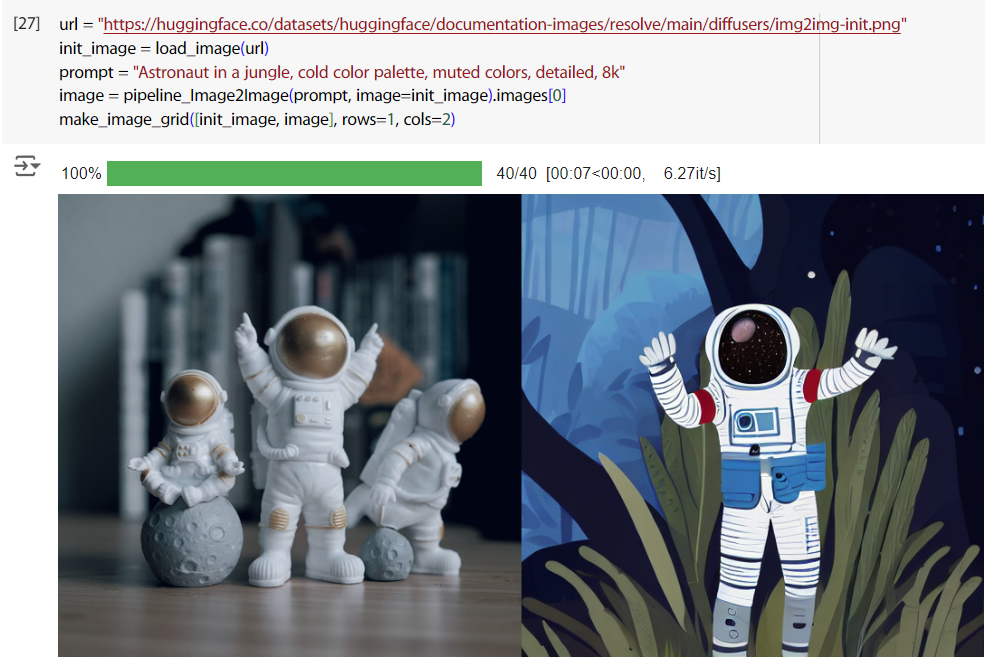
這是用同 Text2Image,下同個 prompt 的結果,好吧是有點差異啦。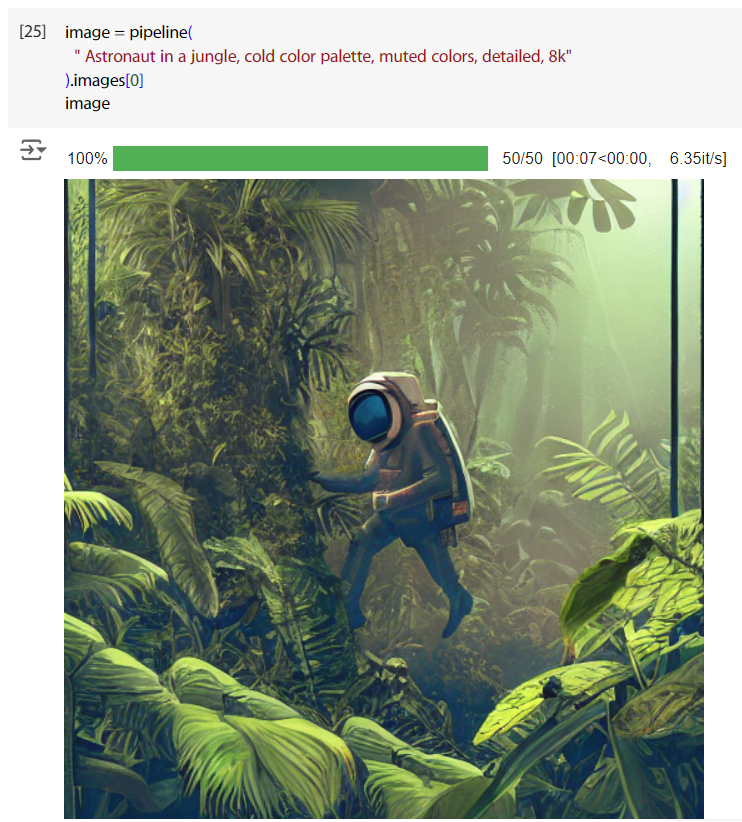
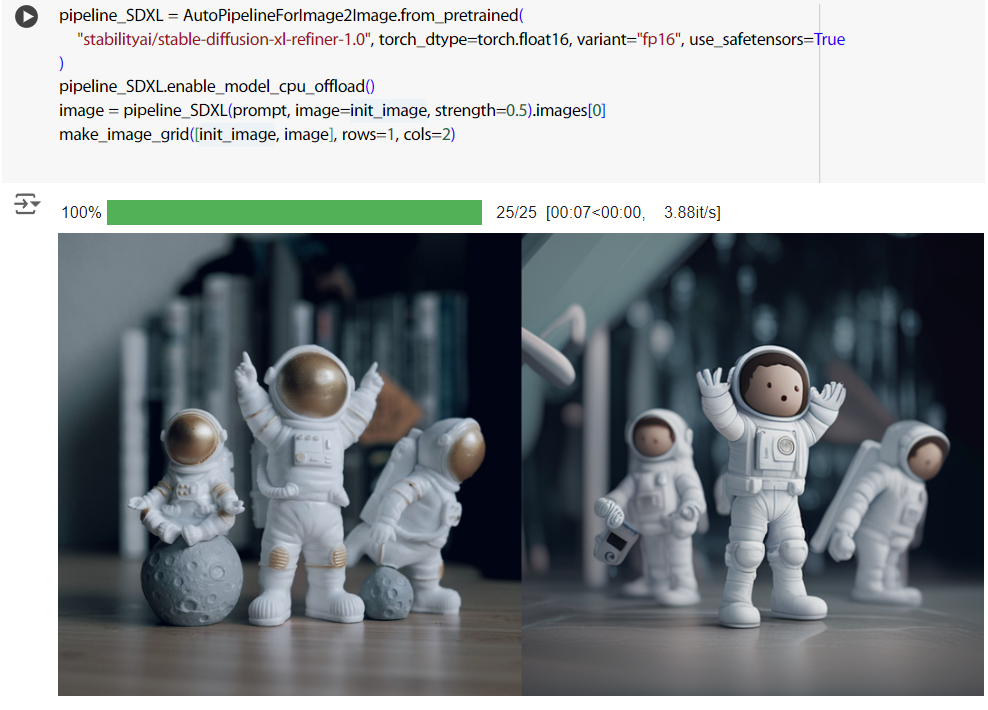
因為覺得效果真的不怎麼樣,所以試用了一下比較厲害的 Stable Diffusion XL,效果好太多了。
pipeline_SDXL = AutoPipelineForImage2Image.from_pretrained(
    "stabilityai/stable-diffusion-xl-refiner-1.0", torch_dtype=torch.float16, variant="fp16", use_safetensors=True
)
pipeline_SDXL.enable_model_cpu_offload()
image = pipeline_SDXL(prompt, image=init_image, strength=0.5).images[0]
make_image_grid([init_image, image], rows=1, cols=2)
