這個話題我跟 AI 討論很久,就老實跟大家說吧,文章順序考慮很久,砍了又改、改了又砍。那麼,還是先把架構講清楚吧!
首先,我不想這變成一篇充滿解釋性內容的學術文章。就個人經驗來說,當 Canvas 繪圖需要的程式碼超過 400 行,維護起來就不容易。雖然可以用 Class 和函式建構式等技巧來增強結構性,並且安排先後順序,讓相關性高的程式碼歸類在一起,但本質上還是存在一個問題:架構只存在你腦海裡,過一段時間回來看就忘記了。
在設計模組化結構並實踐的過程中,我認為最重要的一點是架構應該一目了然。就像我們在資料夾中搜尋文件一般,你也能輕鬆的在物件中找到你要修改的功能。然而,怎樣才是合理的設計,符合每個場景的最佳答案,我認為,這是很難回答的,只能分享我的看法!
這裡應該要有一張 drawio 流程圖,畫到一半畫不完,如果你想看,請在留言區敲碗 ><
你腦海中的基本系統的運作流程可能如下:
但別忘了,還要進行狀態管理,處理 canvas 元素初始化、事件監聽、記憶體回收,如果這些添加進去,全部放在一起,檔案的複雜度就會不斷上升。
所以,我的作法是假裝存在一個後端,透過中間人和前端進行交互,讓後端專心演進行演算。
在這個物件結構中,我們可以將其視為一位中間人,這位中間人擔負著重要的溝通角色,連接了前端的視覺呈現與底層的運算邏輯。這位中間人負責接受 canvas 元素,並進行相關的初始化設定,為粒子系統建立一個良好的基礎。
import createAlgorithm from './algorithm'
const createMyCanvas = function(){
	this.setCanvas = (canvas) => {
		this.ctx = canvas.getContext("2d");
		this.algorithm = new createAlgorithm();
	}
	this.cleanup = () => {
		this.ctx = null;
		this.algorithm = null;
	}
	this.render = () => {
		this.algorithm.render(this.ctx);
	}
	this.update = () => {
		this.algorithm.update(this.ctx);
	}
	return this;
}
const myCanvas = new createMyCanvas();
export default myCanvas;
setCanvas 負責初始化;cleanup 負責釋放記憶體空間(如元件卸載時)。結合上篇所說,我們就可以把 update 跟 render 方法單獨拿出來註冊動畫
而在這樣的背景下,演算法則扮演著一位專注的藝術家,對於它的工作過程非常純粹。它不需要關心畫布的細節,只需專心渲染由中間人所指定的對象。當中間人發出指令時,演算法會立刻反應,將粒子系統中的每一個粒子都渲染到畫布上。
因此,在結構上我們結合物件導向和功能性編程的優勢,不僅將狀態管理和底層細節分離,也封裝底層細節將功能抽象化,提供接口讓前端可以輕鬆交互。以下還是舉實際的例子吧!分別是後續會談到的主題。
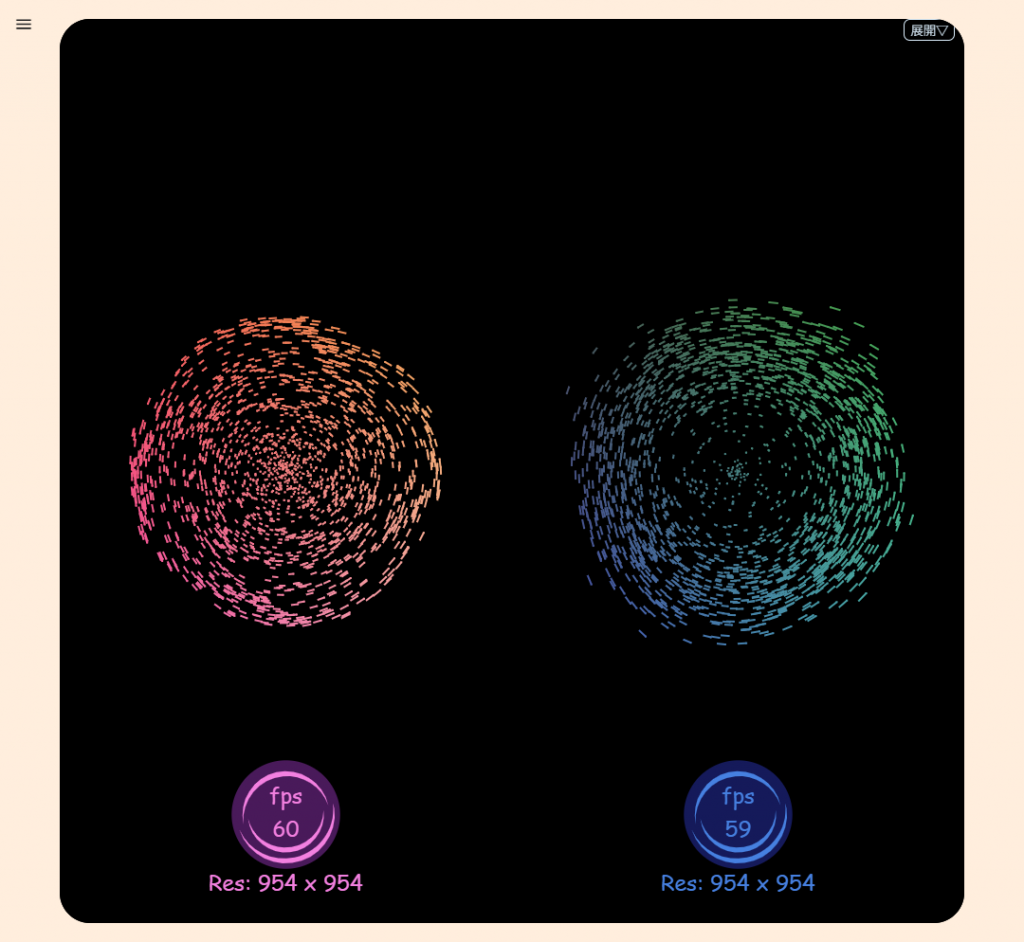
在這個狀態管理的例子中,我們在底層除了基本的演算法外,還分配了任務給 Web Worker,並提供它 Offscreen Canvas 進行離屏渲染。此外,這兩者都會根據畫布寬高,自適應調整繪圖,因此,需要將其作為參數傳遞,並且在螢幕寬高發生改變時額外傳遞給 webWorker。最後,它需要用 terminate 方法來清除,我們可以將其包裝在清理函式內。
const createLokaVolterra = function(){
	this.setCanvas = (canvas, bitmap) => {
		this.algorithm = new lokaVolterraAlgorithm();
		this.myWorker = new MyWorker();
		this.algorithm.reset(canvas.width, canvas.height);
		this.canvas = canvas;
		this.ctx = canvas.getContext("2d");
		this.bitmap = bitmap;
		this.offscreen = bitmap.transferControlToOffscreen();
		this.myWorker.postMessage({
			"name": "transferControlToOffscreen",
			"canvas": this.offscreen,
		}, [this.offscreen]);
	}
	this.cleanup = () => {
		this.algorithm = null;
		this.canvas = null;
		this.ctx = null;
		this.bitmap = null;
		this.offscreen = null;
		this.myWorker.terminate();
		this.myWorker = null;
	}
	this.resize = () => {
		this.myWorker.postMessage({
			"name": "setOffscreen",
			"w": this.canvas.width,
			"h": this.canvas.height
		});
	}
	this.pauseWorker = (isPause) => {
		this.myWorker.postMessage({"name": isPause ? "requestAnimation" : "cancelAnimation"});
	}
	this.render = () => {
		this.algorithm.render(this.ctx);
	}
	this.update = () => {
		this.algorithm.update(this.ctx, this.canvas.width, this.canvas.height);
	}
	return this;
}
這些方法就可以提供給前端使用,拿 React 為例:
const canvas = useRef(null);
const bitmap = useRef(null);
useEffect(()=>{
	window.addEventListener("resize", lokaVolterra.resize, false);
    lokaVolterra.setCanvas(canvas.current, bitmap.current);
	return () => {
		window.removeEventListener("resize", lokaVolterra.resize);
        lokaVolterra.cleanup();
	}
}, []);
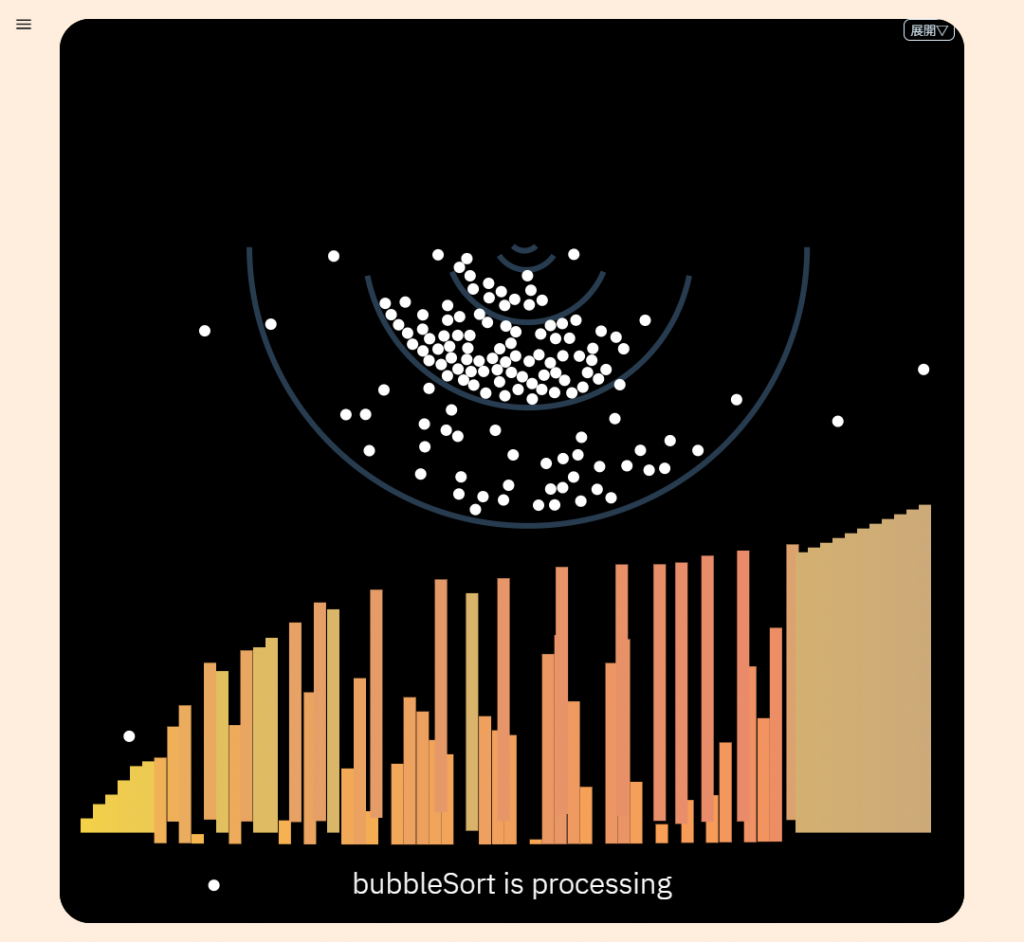
在這個例子中,我們用了三層物件結構,中間人對接粒子系統,粒子系統對接排序演算法,這樣的結構應該不難理解:因為演算法只是粒子系統的一部分;而粒子系統又是整個網頁的一部分。
這裡,中間人同樣提供狀態管理的接口,讓前端可以送出指令,要求執行特定的排序演算法,或是進行取消、逐步執行、設定動畫路徑等指令。
const createPhysic = function(){
    const frame = new Averager(60);
	this.setCanvas = (canvas, pElement) => {
        this.system = new ParticleSystem(canvas.width/2, canvas.height/2);
        this.system.sort.setLog(pElement);
        this.ctx = canvas.getContext("2d");
        this.ctx.lineCap = 'butt';
        this.ctx.textAlign = 'center';
	}
    this.cleanup = () => {
        this.system = null;
        this.ctx = null;
    }
    this.update = () => {this.system.update();}
    this.render = () => {this.system.render(this.ctx);}
    this.start = (ID, path) => {
        this.setPath(path);
        this.system.sort.start(ID, this.system.columns);
    }
    this.cancel = () => {
        this.system.sort.isSorting = false;
    }
    this.stepByStep = () => {
        this.system.sort.isSorting = true;
        this.system.sort.isStoping = true;
    }
    this.setPath = (path) => {
        Object.assign(PathConfig, path);
    }
	return this;
}
PathConfig 是在 A2 設計的動畫物件繼承類別,用來設定動畫路徑
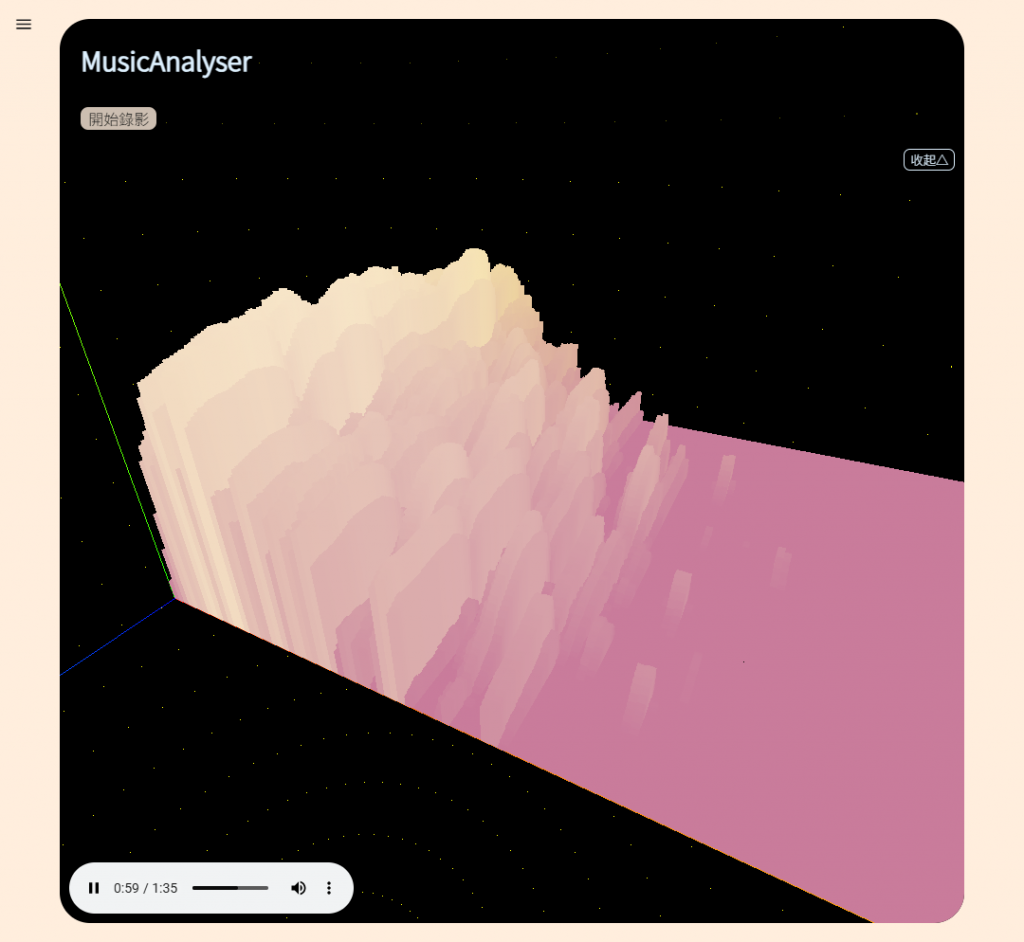
在這裡,想像的後端有兩個主要部分:
透過這個中間人,我們可以良好的管理這兩者的交互。
const createMusicAnalyser = function(){
    this.firstTime = true;
    this.getAnalyser = (e) => {
        const audio = e.target;
        if(this.firstTime) this.analyser = createAnalyser(audio);
        this.firstTime = false;
    }
    this.setCanvas = (canvas) => {
        this.canvas = canvas;
        this.scene = new THREE.Scene();
        this.renderer = new THREE.WebGLRenderer({"alpha": true, "canvas": canvas});
        this.renderer.setClearColor(0x000000, 0);
        // 設置鏡頭
        this.camera = new THREE.PerspectiveCamera( 75, canvas.width / canvas.height, 0.1, 1000 );
        const radius = 300;
        this.camera.position.set(radius/4, radius/3, radius/3);
        // 添加控制和座標軸
        this.controls = new OrbitControls(this.camera, this.renderer.domElement);
        this.controls.target.set(radius/4, 0, -radius/3);
        this.axis = new THREE.AxesHelper(300);
        this.scene.add(this.axis);
        // 添加群組到場景
        this.buff = new BufferFactory();
        this.ball = makeBall(radius, 60, 30, radius/500);
        this.group1 = new THREE.Group();
        this.group1.add(this.buff.mesh, this.ball);
        this.scene.add(this.group1);
    }
    this.cleanup = () => {
        this.firstTime = true;

        // 移除場景中的對象
        if (this.scene) {
			// 釋放幾何體和材質
            // 移除場景中的所有子對象
        }

        // 釋放渲染器
        if (this.renderer) {
            this.renderer.dispose();
        }

        this.buff = null;
        this.canvas = null;
        this.scene = null;
        this.camera = null;
        this.renderer = null;
        this.axis = null;
        this.analyser = null;
    }
    this.resize = () => {
        const [w, h] = [this.canvas.width, this.canvas.height];
        this.renderer.setSize(w, h);
        this.camera.aspect = w/h;
        this.camera.updateProjectionMatrix();
    }
    this.update = () => {
        if(this.analyser){
            const bufferLength = this.analyser.frequencyBinCount;
            const dataArray = new Uint8Array(bufferLength);
            this.analyser.getByteFrequencyData(dataArray);
            const data = [...dataArray].splice(0,128);
            this.buff.transformData(data);
        }
        this.controls.update();
        this.buff.update();
    }
    this.render = () =>{
        this.renderer.render( this.scene, this.camera );
    }
	return this;
}
這篇文章強調了透過中間人模式建立模組化結構的必要性,以及如何通過清晰的界面來管理狀態和簡化交互。透過分離關注點,我們不僅能提高程式碼的可維護性,也能讓演算法與前端操作保持良好的互動性。
不過,無論架構如何設計,最終都還是需要回歸到「維護性」這個核心目標。如果只是一味追求可擴展性,卻忘記了原始目的,則有可能讓整個系統變得不堪重負。希望這篇文章能拋磚引玉,跟大家想法互相碰撞,激發良好的設計模式!


 iThome鐵人賽