拿到新的電腦,對程式設計師來說,當然就是要來設定開發程式的環境。就照著這些步驟來做吧!
找到自己喜歡的編輯器下載並安裝。建議可以從 Visual Studio Code 開始試試看。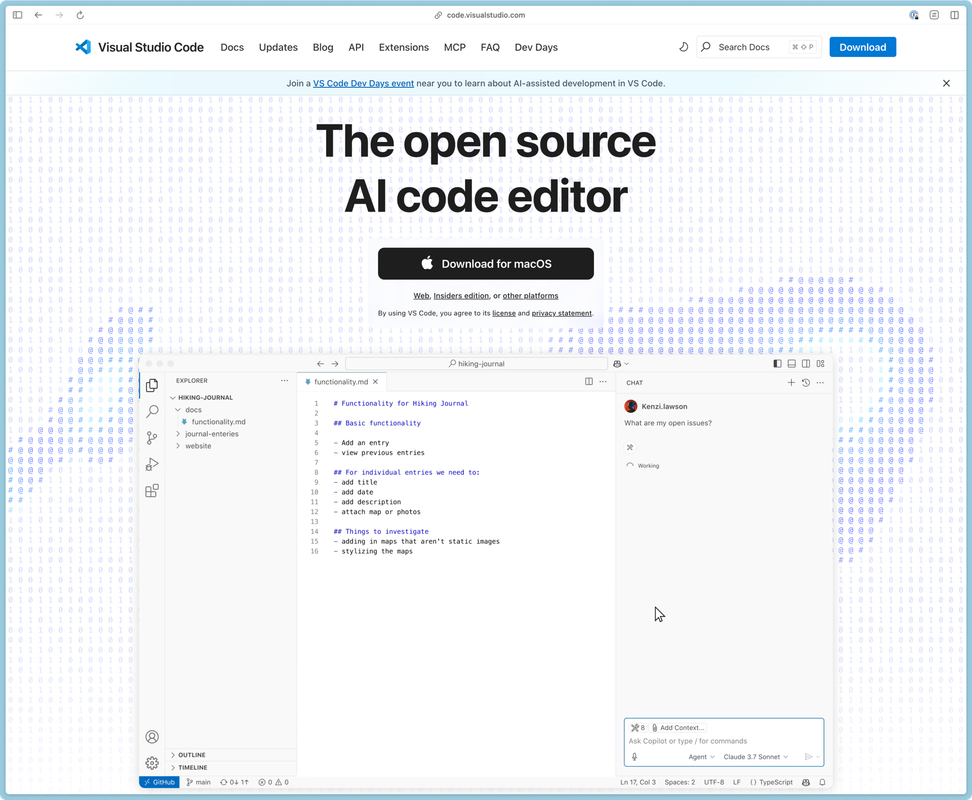
Mac 有內建的「終端機」,也可以用功能更多而且免費的的「iTerm2」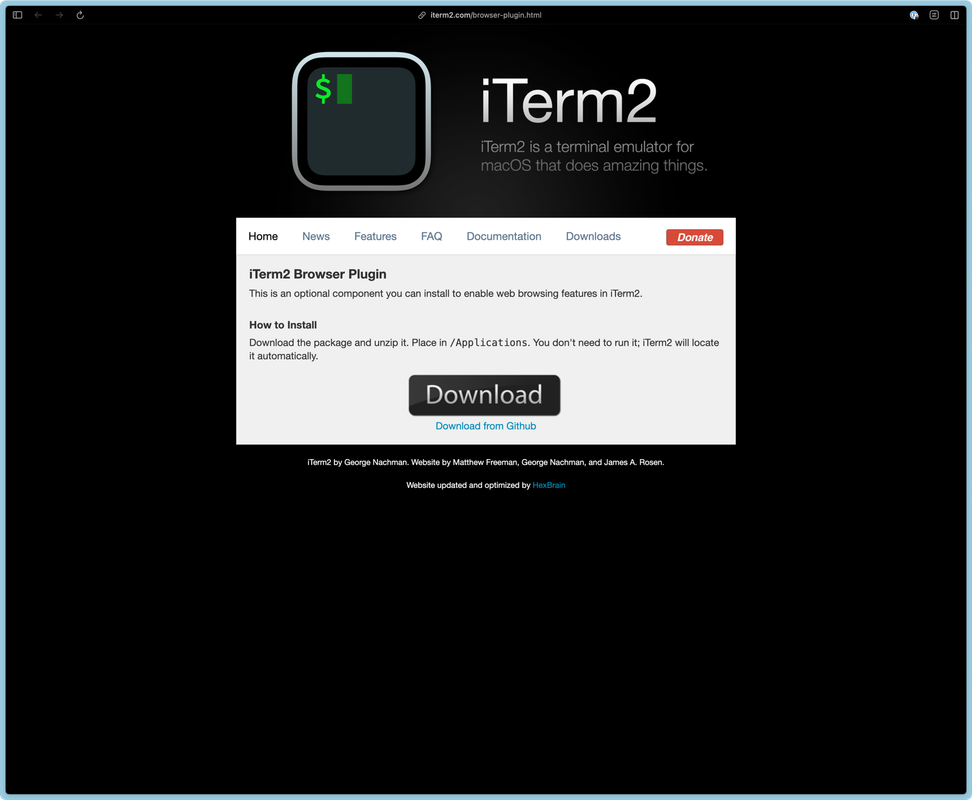
這個是用來安裝及升級各種重要的命令列工具的。到官網 https://brew.sh/zh-tw,複製中間的那行字,貼到終端機上按 [Enter] 。

以下的指令會安裝這些命令行工具
brew install git jq ripgrep fd fzf
當希望專案不會被程式語言升級影響,能長久使用下去時,會需要語言版本管理工具。我們使用 mise 來管理各種語言的版本:
brew install mise
在 ~/.zshrc 裡加上這幾行設定
## 檔案位置在 ~/.zshrc

eval "$($HOME/.local/bin/mise activate zsh)"
在終端機裡輸入相對應的命令。有 -- 開頭的是註釋,不用輸入。
-- python
brew install uv
mise use -g python@latest

-- JavaScript (Node)
brew install vite
mise use -g node@latest

-- elixir
brew install wxwidgets
mise use -g erlang@latest
mise use -g elixir@latest
brew install postgresql@14
mix archive.install hex phx_new
安裝下列工具
brew install eza zoxide zsh-history-substring-search zsh-syntax-highlighting
打開編輯器,找到 ~/.zshrc 這個檔案 (如果沒有就開新檔案),並貼上以下內容:
# ls aliases
if command -V eza >/dev/null 2>&1; then
  alias ls="eza --color=always --long --git"
  alias l="eza --git"
  alias ll="eza -alh -F=auto --git"
  alias sl="l"
  alias lt="eza --tree"
  alias llt="eza --tree --long --git"
else
  alias l="ls -CF"
  alias ls="ls -G"
  alias la="ls -al"
  alias ll="ls -alFh"
  alias sl="ls"
fi

# Git 資訊函數
autoload -Uz vcs_info
precmd() { vcs_info }
zstyle ':vcs_info:git:*' formats '[%b]'
setopt PROMPT_SUBST

# 設定 prompt 為 `~ [git info] $`
PROMPT='%~ ${vcs_info_msg_0_} $ '

# zsh-syntax-highlighting(語法上色)
source /opt/homebrew/share/zsh-syntax-highlighting/zsh-syntax-highlighting.zsh

# zsh-history-substring-search(搜尋歷史)
source /opt/homebrew/share/zsh-history-substring-search/zsh-history-substring-search.zsh

# 綁定上下鍵搜尋歷史
bindkey '^[[A' history-substring-search-up      # 上鍵
bindkey '^[[B' history-substring-search-down    # 下鍵

# 基本歷史設定
HISTFILE=~/.zsh_history
HISTSIZE=10000
SAVEHIST=10000
setopt SHARE_HISTORY

eval "$(zoxide init zsh --cmd cd)"