在Day 9的介紹中,我們已經建立了一個計數器,能夠簡單的增加與減少數量,並乘以一價格。
現在我們的目標是將它設計得更複雜些,例如: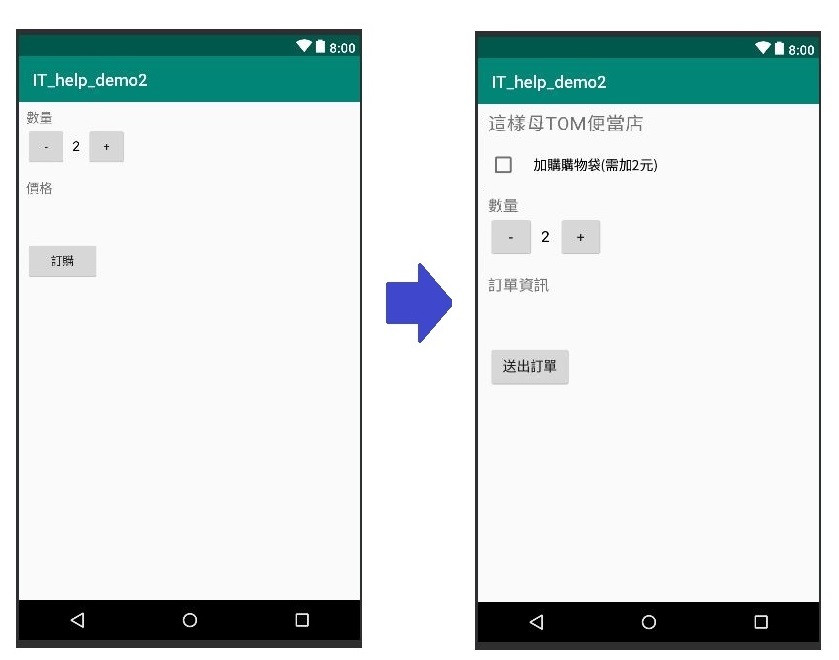
CheckBox基本上繼承了button類別,但是只有兩種狀態(勾選與未勾選)。
其XML形式如下(參考 developer guide):
<CheckBox
    android:layout_height="wrap_content"
    android:layout_width="wrap_content"
    android:text="要顯示的文字" />
而其Java中的對應動作範例中,可以看出CheckBox是用一個isChecked()方法來確認其狀態,而return的值是個boolean值。
public void onCheckboxClicked(View view) {
    // Is the view now checked?
    boolean checked = ((CheckBox) view).isChecked();

    // Check which checkbox was clicked
    switch(view.getId()) {
        case R.id.checkbox_meat:
            if (checked)
                // Put some meat on the sandwich
            else
                // Remove the meat
            break;
        case R.id.checkbox_cheese:
            if (checked)
                // Cheese me
            else
                // I'm lactose intolerant
            break;
        // TODO: Veggie sandwich
    }
}
用來彙整訂單資訊,我們希望這個區塊能夠列出一份訂單總結,包括:
下一篇我們將來實作其介面和動作,其中使用CheckBox的方式將會和developer guide有些許不同。