
今天要介紹的是我們優化模型的第一步:processing 欲處理的部份,在原先的訓練中,我們把圖片預處理這一塊放到 Dataset API 去做,因此每次要做推論時,必須自己把圖片自行預處理後才丟進去。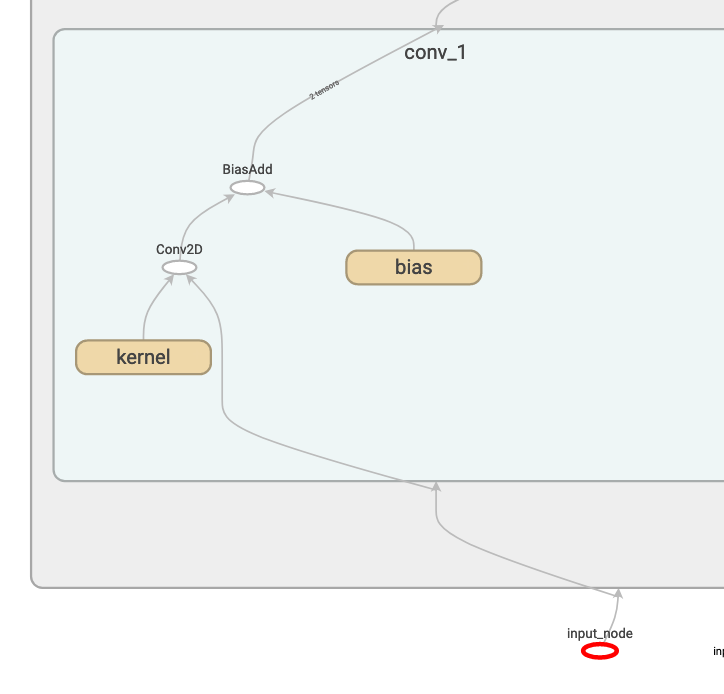
那麼,有沒有可能對模型動一些手腳,讓我們只要丟圖片的 raw 值,就可以推論了呢?有的,以下向大家慢慢介紹,首先,先去除 ckpt 檔中不必要的訓練節點
with tf.Session() as sess:
   saver = tf.train.import_meta_graph('../ckpt/model.ckpt-720.meta')
   saver.restore(sess, '../ckpt/model.ckpt-720')

   frozen_gd = tf.graph_util.convert_variables_to_constants(
       sess, tf.get_default_graph().as_graph_def(), ['final_dense/MatMul'])
這裡會達到一個 graph_def,我們稱做 frozen_gd,他比較像是某種資料結構,並不是目前的 graph 狀態,所以我定義了一個將 graph_def,讀進目前 graph 的方法
def update_graph(graph_def):
   tf.reset_default_graph()
   tf.import_graph_def(graph_def, name='')
然後就可以開始幫模型加入 pre_processing 了
# opt start #

preprocess_gd = add_preprocessing('backend/conv_1/Conv2D', 'input_node')
update_graph(preprocess_gd)

# opt end #
在撰寫 add_preprocessing 之前,先停下來思考一下我們最終的節點應該會長怎麼樣,我們會需要一個新的 placeholder,後面接預處理,最後再傳到第一個conv2D,有此可知,我們需要兩個參數:原節點和第一個conv2D,程式碼前半段長這樣:
def add_preprocessing(target_node_name, old_input_name):
   # create preprocessing node
   new_input_node = tf.placeholder(shape=[None, 128, 128, 3],
dtype=tf.float32,
name='new_input_node')
   with tf.variable_scope('pre_processing'):
       sub = tf.subtract(new_input_node, 127.5)
       mul = tf.multiply(sub, 0.0078125, name='out')
再來,我們要改變節點的傳輸方向,就靠從改變 graph_def 裡的 node_def 著手,並搭配 for 迴圈跑一次所有的 node 並產生新節點,細節在以下程式碼中註解。
old_gd = tf.get_default_graph().as_graph_def()
old_nodes = old_gd.node  # old nodes from graph

nodes_after_modify = []
for node in old_nodes:
   new_node = node_def_pb2.NodeDef()  # 產生新節點
   new_node.CopyFrom(node)  # 拷貝舊節點資訊到新節點
   input_before_removal = node.input  # 把舊節點的inputs暫存起來
   if new_node.name == target_node_name:  # 如果節點是第一個con2D
       del new_node.input[:]  # 就把該inputs全部去除
       for input_name in input_before_removal:  # 然後再for跑一次剛剛刪除的inputs
           if input_name == old_input_name:  # inputs中若有舊input
               new_node.input.append(mul.op.name)  # 指到新input
           else:
               new_node.input.append(input_name)  # 不是的話,維持原先的input
   nodes_after_modify.append(new_node)  # 將新節點存到list

new_gd = graph_pb2.GraphDef()  # 產生新graph def
new_gd.node.extend(nodes_after_modify)  # 在新graph def中生成那些新節點後return
return new_gd
優化結束後,我建議再跑一次 convert_variables_to_constants,將剛剛可能被孤立的節點剔除(例如舊的 input_node),就可以存成 pb 檔啦!
with tf.Session() as sess:
   frozen_gd = tf.graph_util.convert_variables_to_constants(
       sess, preprocess_gd, ['final_dense/MatMul'])

ensure_graph_is_valid(frozen_gd)

tf.summary.FileWriter(OUTPUT_PATH, graph=frozen_gd)

tf.io.write_graph(frozen_gd, "../pb/", "frozen_shape_24.pb", as_text=False)
tf.io.write_graph(frozen_gd, "../pb/", "frozen_shape_24.pbtxt", as_text=True)
我們來看看動完手術後的 graph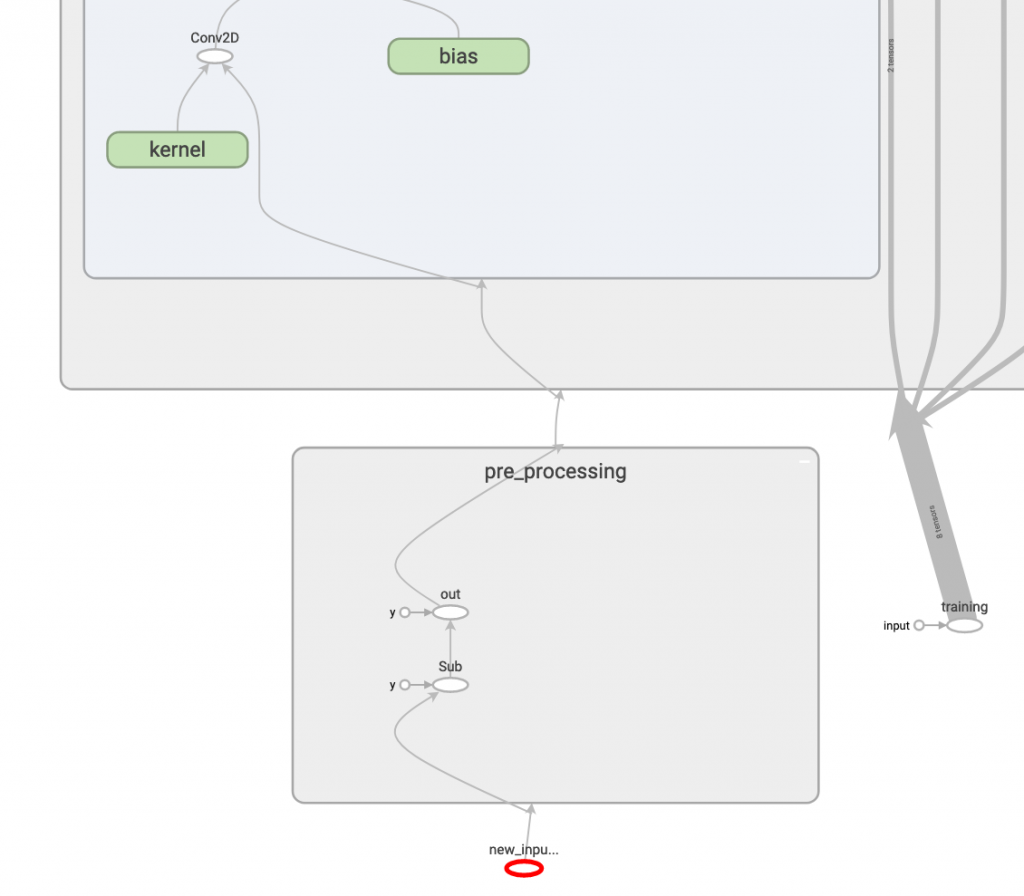
有了!我們看到新的 input_node 和 pre_processing 產生,而丟進去的圖片也不再需要預處理了!
with tf.Session() as sess:
   input_node = tf.get_default_graph().get_tensor_by_name(
       "new_input_node:0")
   training_node = tf.get_default_graph().get_tensor_by_name(
       "training:0")
   output_node = tf.get_default_graph().get_tensor_by_name(
       "final_dense/MatMul:0")

   image = cv2.imread('../05/ithome.jpg')
   image = cv2.resize(image, (128, 128))

   output = sess.run(output_node, feed_dict={
       input_node: np.expand_dims(image, 0),
       training_node: False})
   print(output)
產生的輸出也和昨天一樣,代表模型是對的!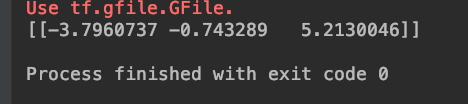
哈哈,這個方法是我自己研究出來的,希望大家會喜歡 <3

 iThome鐵人賽