iT邦幫忙

2021 iThome 鐵人賽

DAY 3
0
Modern Web

從零開始的寫web app 30天生活系列 第 3

Day 3 - 原型 (2) : 主頁元件

設置

先在Figma中建立2個頁面(Page), 名字分別為Blog跟Components(元件)。

https://ithelp.ithome.com.tw/upload/images/20210912/20140375zGSL5xYffV.png

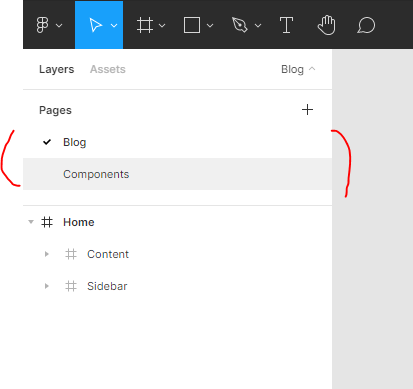
Blog頁面主要是放置Blog的各個頁面, 例如:主頁、Blog貼子頁。而Components則是放置Blog的各個元件, 例如: 頭像、Blog的貼子。

主佈局 (main layout)

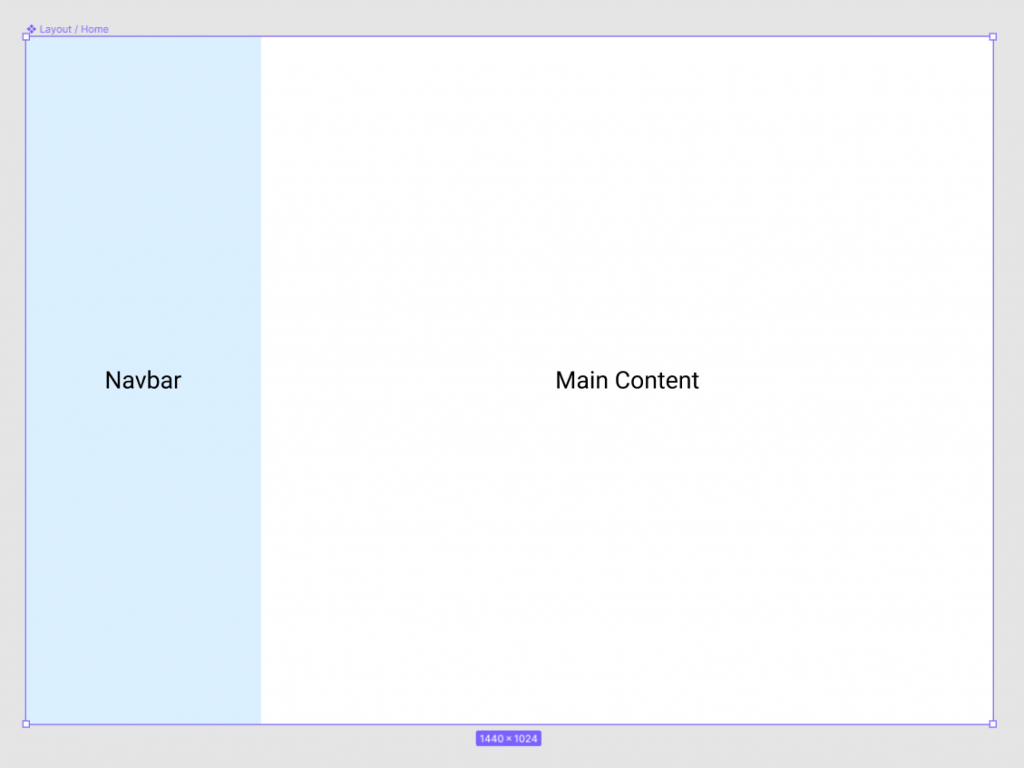
Blog的主要佈局為2欄佈局(2 columns layout)。左邊的是Navigation bar, 用來放置頭像跟貼子的分類; 右邊則是Main content, 用來放置主要內容。

https://ithelp.ithome.com.tw/upload/images/20210912/20140375ZNMfLCWsxi.png

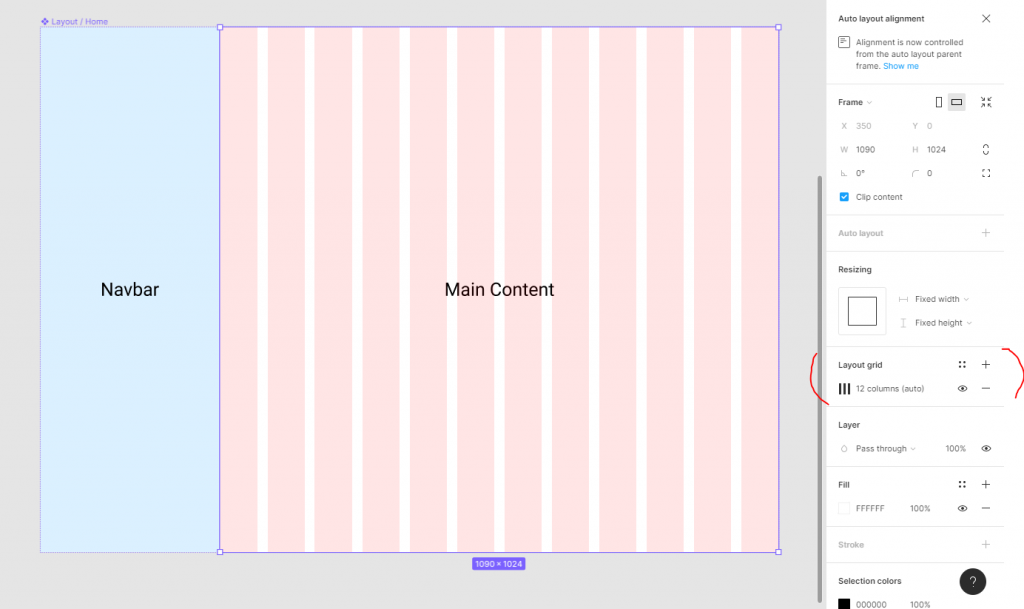
在Main content中, 我還設置了12欄的佈局, 用來方便對準之後放在Main content的元件。
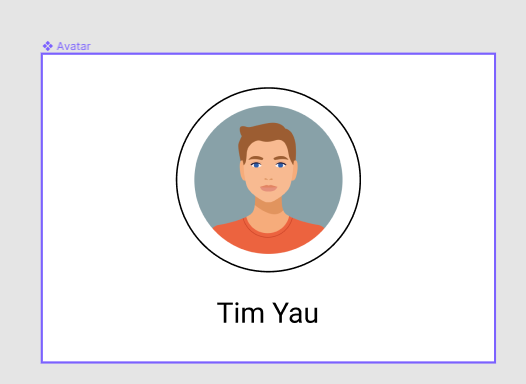
https://ithelp.ithome.com.tw/upload/images/20210912/20140375UZadZtVb17.png

Navigation bar的元件

  1. 頭像 (Avatar)

顯示個人頭像跟名字。

https://ithelp.ithome.com.tw/upload/images/20210912/20140375FSZPoSxRca.png

  1. 貼子的封存 (Blog's post archive)

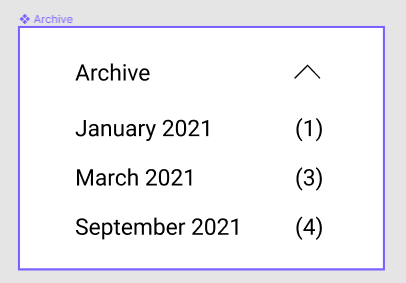
顯示每個月blog貼子的數量。使用者也可以按各個月份的按鈕, 去篩選所顯示的貼子。按右上角的箭頭可以把元件隱藏。

https://ithelp.ithome.com.tw/upload/images/20210912/20140375RQLLz05v7S.png

Main content的元件

主頁

  1. 搜索欄

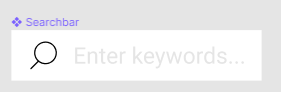
按已儲存貼子的標題和內容, 來進行搜索。

https://ithelp.ithome.com.tw/upload/images/20210912/201403756aYOCl4HQS.png

  1. 貼子

顯示貼子的標題、發布日子、內容。按右下的READ MORE按鈕, 可以進入貼子頁。

https://ithelp.ithome.com.tw/upload/images/20210912/20140375sw2wLgiTPU.png

  1. 分頁按鈕

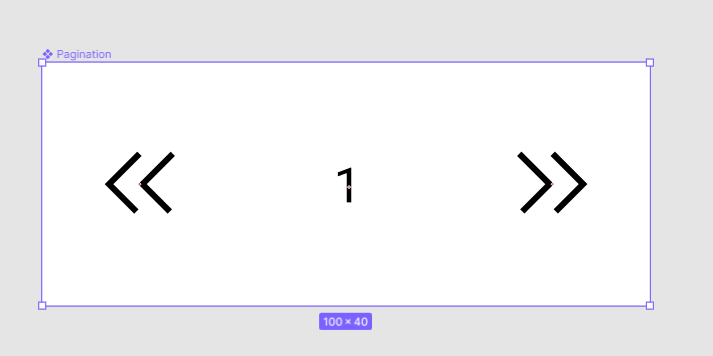
考慮到未來貼子的數量會很多, 我們也要加分頁, 不然, 一次過顯示大量的貼子會影響效能跟流暢度。要查看頁面用了多少內存, 可以看看這篇

至於功能上, 我提供了按上、下一頁, 跟顯示目前的頁數。

https://ithelp.ithome.com.tw/upload/images/20210912/20140375otOT1e3aZz.png

元件類別

為日後更容易找到各元件, 我在每個元件名字之前加上了類別。元件命名的格式為

{元件類別} / {元件名字}

https://ithelp.ithome.com.tw/upload/images/20210912/20140375p1SsI5S5CI.png

有聽過嗎? There are only two hard things in Computer Science: cache invalidation and naming things. Phil Karlton

結語

今天也建立了不少元件呢, 明天就把建立了的元件組合成為prototype的主頁吧。


上一篇
Day 2 - 原型: Figma
下一篇
Day 4 - 原型 (3): 主頁的元件組合
系列文
從零開始的寫web app 30天生活10
圖片
  直播研討會
圖片
{{ item.channelVendor }} {{ item.webinarstarted }} |
{{ formatDate(item.duration) }}
直播中

尚未有邦友留言

立即登入留言