今天主要要來提banner(橫幅廣告)的應用,那麼就先來做本地取圖來放映廣告並且輪播,明天則做線上取圖的應用(因為有些微不一樣所以分開來講)。
首先先添加依賴在build.gradle/dependencies中。
    <--添加banner依賴及glide圖片載入器-->
    implementation 'com.youth.banner:banner:1.4.9'
    implementation "com.github.bumptech.glide:glide:3.7.0"
依賴加進去以後按右上角的Sync now就可以了,接著就在布局中添加banner元件。
<--布局ConstraintLayout,將廣告放置於底部-->
    <com.youth.banner.Banner
        android:id="@+id/banner"
        android:layout_width="match_parent"
        android:layout_height="170dp"
        android:background="@color/purple_200"
        app:layout_constraintBottom_toBottomOf="parent"
        app:layout_constraintLeft_toLeftOf="parent" />
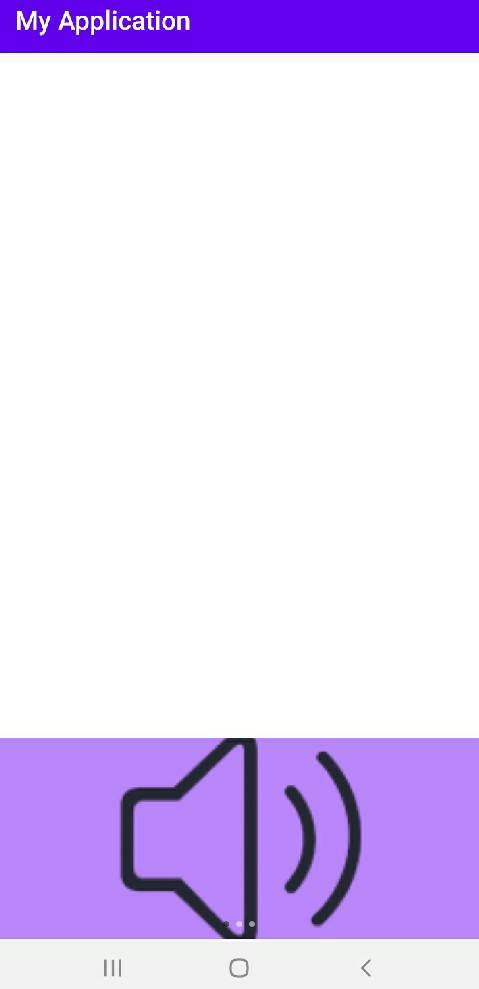
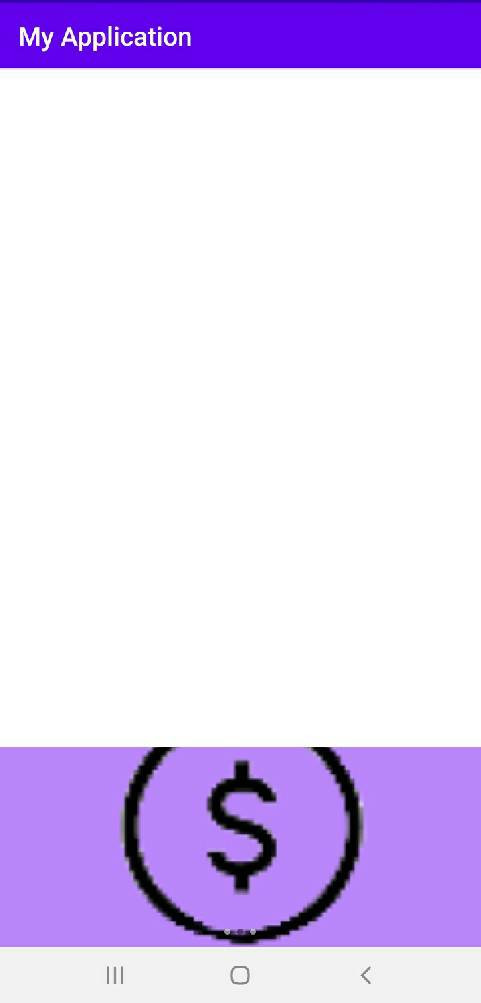
就看是使用什麼布局,就使用那個布局的屬性來進行排版,我這邊是使用ConstraintLayout來做,且因為我選的圖都沒有顏色,所以則加入background來觀察下面圓點的部分,雖然不會覆蓋原圖的顏色,但未被覆蓋到的地方則會有顏色,實際操作是可以拿掉的,而接下來,因為是本地圖片,所以可以先將想要顯示當廣告的圖片加入至drawable中。
可透過Image Asset將想顯示的圖片加入。
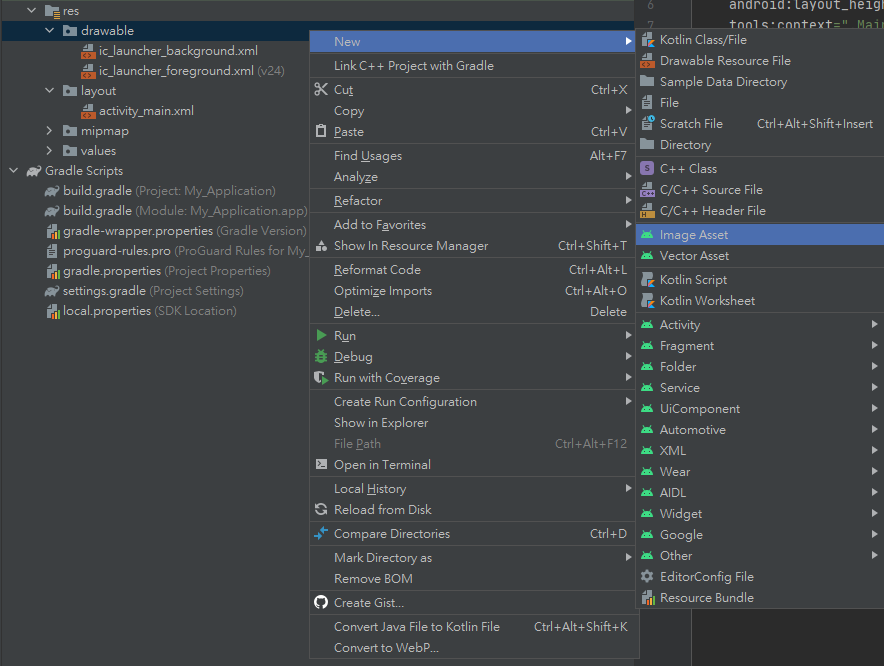

若按了next之後發現是紅色的,代表這個圖檔的名字在你專案底下的app/src/main已經存在了,則需要再將那個名字的檔案刪除再建立。
public class MainActivity extends AppCompatActivity {
    @Override
    protected void onCreate(Bundle savedInstanceState) {
        super.onCreate(savedInstanceState);
        setContentView(R.layout.activity_main);
        Banner banner = findViewById(R.id.banner);
        int[] resourceID = new int[]{R.mipmap.image1_foreground, R.mipmap.image2_foreground, R.mipmap.image3_foreground};
        //線上圖片索引則用String[]
        List<Integer> img_list = new ArrayList<>();
        for (int i = 0; i < resourceID.length; i++) {
            img_list.add(resourceID[i]);              //圖片加入List中
            banner.setImageLoader(new ImageLoader() {
                @Override
                public void displayImage(Context context, Object path, ImageView imageView) {
                    Glide.with(MainActivity.this).load(path).into(imageView);//Glide加載圖片
                }
            });
            banner.setBannerAnimation(Transformer.Accordion);//輪播動畫效果
            banner.setImages(img_list);//設定圖片位址(已加入至List中)
            banner.setDelayTime(5000);//播5秒自動切換
            //banner.isAutoPlay(true);自動切換,設定好setDelayTime也會自動切換
            banner.start();
        }
    }
}
我使用Glide加載圖片並將圖片位址使用List的圖片,其他則是banner常用的功能屬性,大約這樣就完成了一個簡易的banner!明天就來看有關線上取圖的部分。