在深度學習(Deep Learning)的發展初期,在開發時往往需要大量的程式碼、以及高規格的硬體設施成本,使得深度學習的開發和應用一直難有突破。
為了解決這些問題,Google Brain 團隊於 2015 年 11 月發佈了 TensorFlow,這是一款具有高度通用性的機器學習開源平台。TensorFlow 使用了數據流圖的概念,將模型的訓練和部署過程抽象化,使其更加簡單和易於使用。TensorFlow 也支援多種硬體平台,使其能夠在各種環境中部署深度學習的模型。TensorFlow 的發布,使深度學習的開發和應用變得更加簡單和可行,推動了深度學習技術的發展和應用。
接下來的學習筆記中,便會開始我們的第一步,就是建立 TensorFlow 所需要的開發環境!
TensorFlow 是透過 Python 開發的機器學習框架,最低運作要求是在 Python 3.6 的環境。本文中所使用的電腦是 Windows Surface Pro 8(Win 11系統),內建顯示卡是 Intel Xe Graphics G7 (80EU),根據 TensorFlow 的官方網站資料顯示是不支援透過 GPU 運作的,因此以下內文將會以 CPU 版本之 TensorFlow,並搭配 Microsoft VS Code 呈現。
在 VS Code內設定,使程式皆以管理員身分執行。
安裝 Python
開 Microsoft Store 之後,搜尋 Python 之後安裝最新版的套件。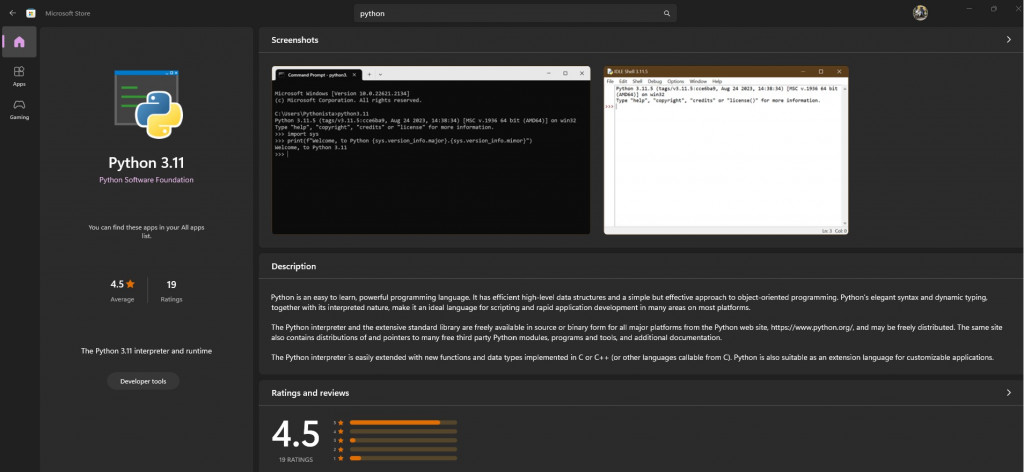
進入VS Code之後,搜尋Python擴充套件並完成安裝,就可以在VS Code上正常執行Python程式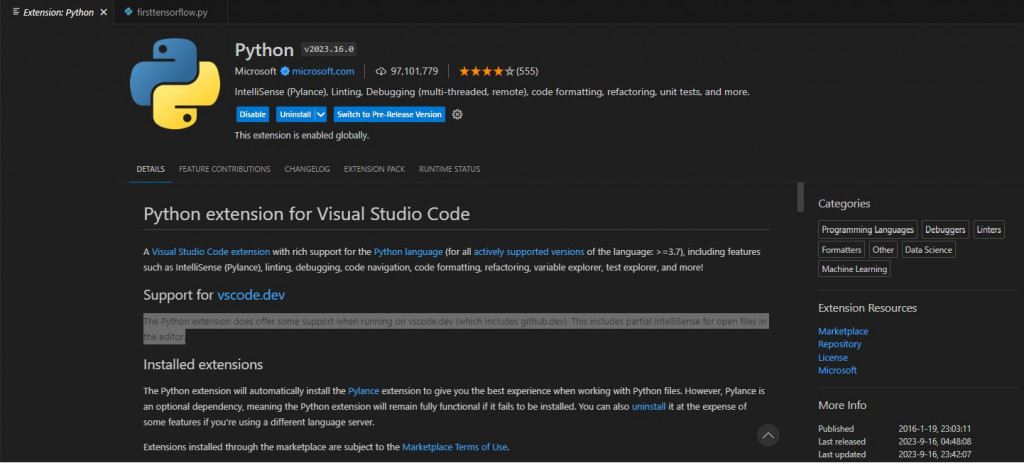
安裝TensorFlow
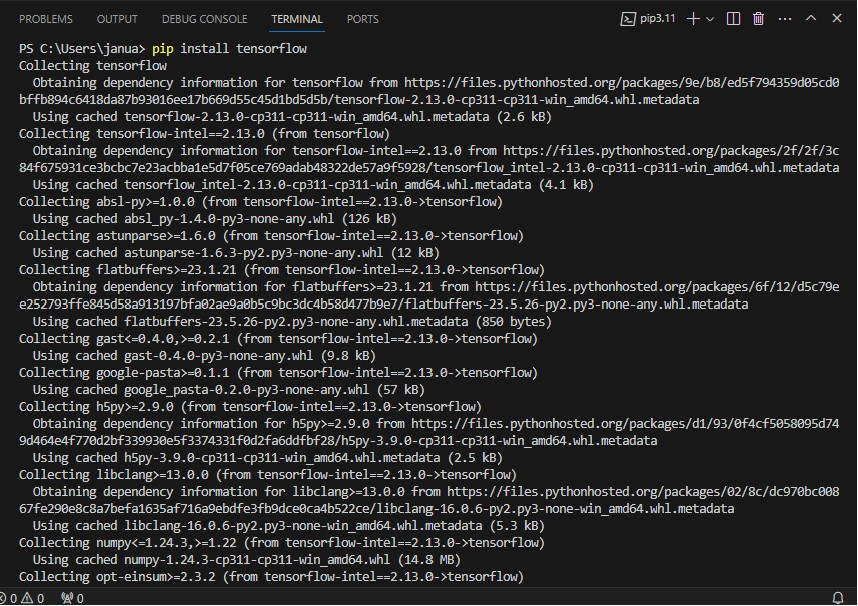
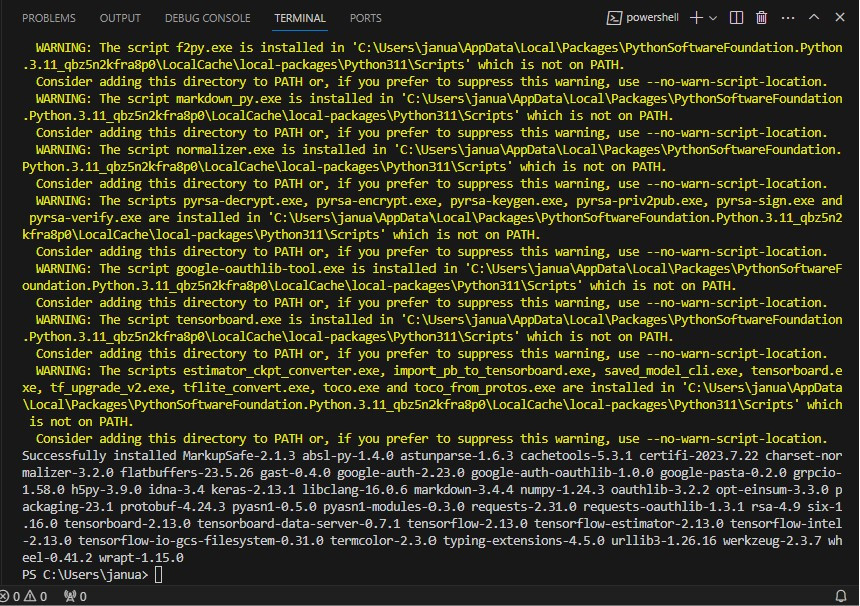
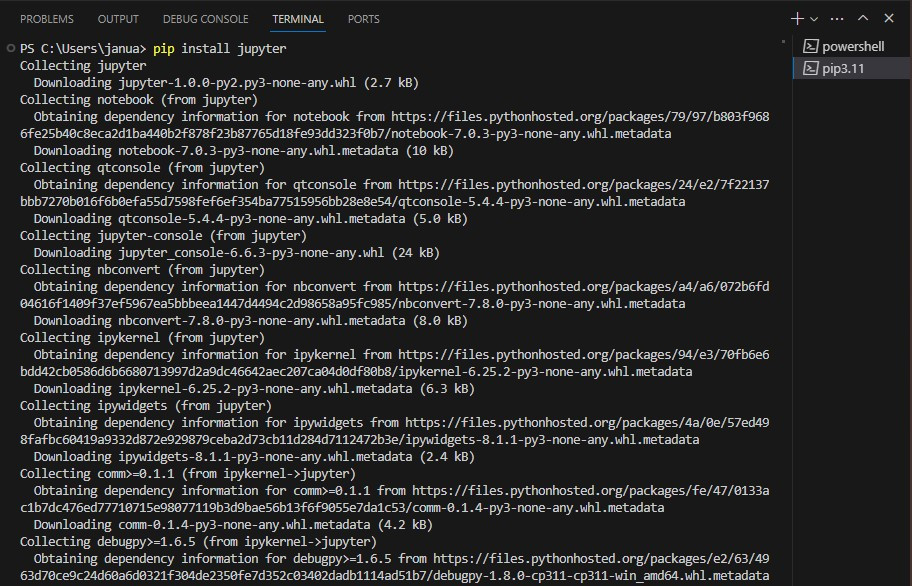
我們可以透過 VS Code 內建的終端機功能,輸入以下指令安裝 Python 3.6
pip install tensorflow
在安裝完成後,可以執行這些命令確認TensorFlow是否能正常啟用
python -c "import tensorflow as tf"

在 TensorFlow 啟用後,我們便會輸入以下指令建立虛擬環境
python -m venv tensorflow
這樣就可以將 TensorFlow 安裝在不受打擾的空間中,以避免與其他 Python 專案或程式發生衝突。
我們先將目錄切換到虛擬環境目錄,並將 PATH 設置成虛擬環境的 Script 目錄,避免出現 ImportError 錯誤[4]
cd tensorflow
.\Scripts\activate
此時若 TensorFlow 成功啟用,便可以看到終端機前面出現 (TensorFlow) 的提示。由於 TensorFlow 經常會執行"未經許可"的腳本,所以接下來我們便要允許在虛擬環境中,輸入以下程式碼以解決此問題
Set-ExecutionPolicy Unrestricted
Activate

完成這些程序後,便可以試運行TensorFlow程式囉!
import tensorflow as tf
x = tf.constant(1.0)
y = tf.constant(2.0)
z = x + y
print(z)
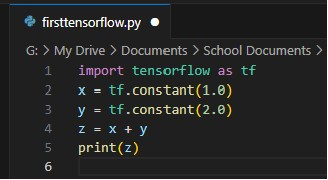
tf.Tensor(3.0, shape=(), dtype=float32),便代表TensorFlow已成功運作
[1] History of TensorFlow:https://github.com/tensorflow/tensorflow/
[2] Development Enviroments:https://www.tensorflow.org/
[3] Virtualenv does not work:https://www.linuxfixes.com/2022/05/solved-virtualenv-activate-does-not-work.html
[4] Python虛擬環境:https://docs.python.org/zh-tw/3/library/venv.html
[5] 試運行程式參考:https://www.tensorflow.org/api_docs/python/tf/math/add


 iThome鐵人賽