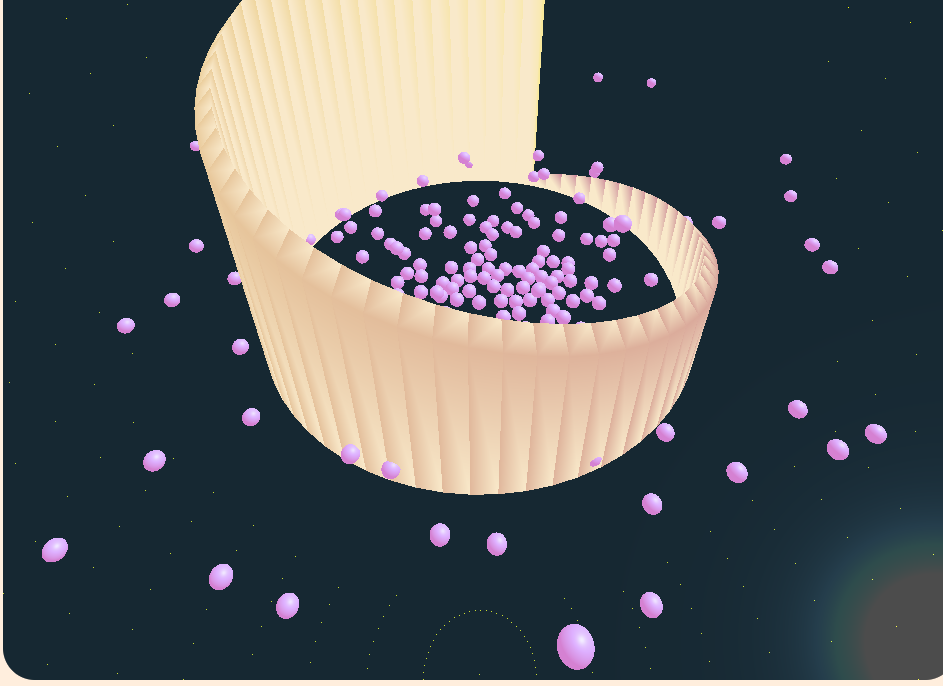
今天花了一整天時間研究 Cannon 引擎,試圖將主題 C 中粒子系統從二維提升到三維,不過,由於效能方面一直無法取得突破,並未達成預期目標。本文純粹分享如何結合 three.js 和物理引擎,製作和模擬彈跳球體,並設置重力和碰撞係數。雖未解決全部問題,但這是一個有趣的學習過程。

首先,我們在物理世界中創建一個無限延伸的地板:
class ParticleSystem3D{
    constructor(){
        this.sort = new SortAlgorithm();
        this.mesh = new THREE.Group();
        this.initCannon();
    }
    initCannon(){
        // 初始化 Cannon.js 物理世界
        this.world = new CANNON.World();;
        this.world.gravity.set(0, -9.82, 0);

        this.groundMaterial = new CANNON.Material();
        const groundBody = new CANNON.Body({
            mass: 0, // 靜態物體
            material: this.groundMaterial,
            shape: new CANNON.Plane(),
        });
        groundBody.quaternion.setFromEuler(-Math.PI / 2, 0, 0);
        this.world.addBody(groundBody);
        this.createFloor(10000);
    }
接著我們用 three 建立一個可視化的地板,在標準材質中,可以設置透明度、表面粗糙度(反光度)、金屬材質感。這些都是 Three 內建非常方便的功能:
createFloor(size, position){
    const floorGeometry = new THREE.PlaneGeometry(size, size); // 設定地板大小
    const floorMaterial = new THREE.MeshStandardMaterial({
        color: 0x75cdff, // 白色
        transparent: true,
        opacity: 0.3,
        metalness: 0.5, // 增加金屬感
        roughness: 0.1 // 調整粗糙度
    });

    const floor = new THREE.Mesh(floorGeometry, floorMaterial);
    floor.position.copy(position || new THREE.Vector3(0, 0, 0));
    floor.rotation.x = -Math.PI / 2; // 使地板平行於地面
    this.mesh.add(floor);
    return floor;
}
由此可見,在物理引擎 Cannon.js 和渲染引擎 Three.js 之間,地板是兩個引擎互不干擾的部分。物理引擎處理碰撞和重力,渲染引擎則負責可視化。
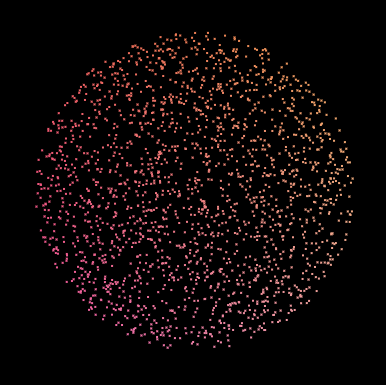
過去我們曾提到,在二維空間的一個園內,均勻的產生隨機數,其中一個方法是極座標:
"d": Math.sqrt(Math.random()) * width, // distance
"r": Math.random() * 2 * Math.PI, // radian

這一方法也可以應用到三維空間中。以下為均勻隨機生成球體的方法:
this.spheres = [];
for (let i = 0; i < 200; i++) {
    const r = 100 * Math.sqrt(Math.random()); // 隨機半徑
    const theta = Math.random() * 2 * Math.PI; // 隨機極角
    const phi = Math.acos(2 * Math.random() - 1); // 隨機方位角

    const x = r * Math.sin(phi) * Math.cos(theta);
    const y = 100 + r * Math.sin(phi) * Math.sin(theta);
    const z = r * Math.cos(phi);

    const radius = 5;
    const position = new THREE.Vector3(x, y, z);
    this.spheres.push(this.createSphere(radius, position));
}
接著我們要分別在兩個引擎中建立這些球,和 three.js 相似,3D 物件要放入場景中渲染;而 Cannon 要放入物理世界才會運作。
createSphere(radius, position) {
    // Three.js 球體
    const geometry = new THREE.SphereGeometry(radius, 32, 32);
    const material = new THREE.MeshStandardMaterial({
        color: 0x5ba6d2,
        emissive: 0xd581d2,
        roughness: 0.5,
        metalness: 0.3
    });
    const sphereMesh = new THREE.Mesh(geometry, material);
    sphereMesh.position.copy(position);
    this.mesh.add(sphereMesh);

    // Cannon.js 球體
    const sphereBody = new CANNON.Body({
        mass: 1, // 動態物體
        shape: new CANNON.Sphere(radius),
        material: this.sphereMaterial,
        position: new CANNON.Vec3(position.x, position.y, position.z),
    });
    this.world.addBody(sphereBody);

    return { mesh: sphereMesh, body: sphereBody };
}
由於物理世界決定物件的動作,經由運算更新位置,因此需要每幀更新 Three.js 中的球體位置,使其與 Cannon.js 的物理運算結果同步:
update(){
    this.world.step(1 / 60);
    this.spheres.forEach(({ mesh, body }) => {
        mesh.position.copy(body.position);
        mesh.quaternion.copy(body.quaternion);
    });
}
那麼,這樣就會碰撞了吧!當你直接跑程式,你會發現,球跳一兩下就停止了,這是因為摩擦力和能量耗損。我們可以從材質手動設定參數,來達成我們想要的彈跳效果,以下介紹兩種方式:
this.groundMaterial.friction = 0; // 無摩擦
this.groundMaterial.restitution = 1; // 完全彈性
this.sphereMaterial.friction = 0;
this.sphereMaterial.restitution = 1;
新建一個接觸用的材質,來設置 A 和 B 的碰撞關係,如此一來可以單獨控制部分材質的相互碰撞
const contactMaterial = new CANNON.ContactMaterial(
    this.sphereMaterial,
    this.groundMaterial,
    {
        friction: 0.1, // 低摩擦
        restitution: 0.95, // 彈性
    }
);
this.world.addContactMaterial(contactMaterial);
這麼一來,我們就模擬一個彈跳球的物理模擬環境啦!
因效能問題,後續實作未能驗證和展示,未來有機會繼續更新!接下來的計畫是,希望讓這些球體和圓餅圖碰撞,在視覺上感受到排序演算法的衝擊!
對於 Cannon 來說,它建立形狀的方式和我在系列文 D4 的概念相同,用面來定義形狀,內部會換算成三角平面。這裡,我們可以把昨天計算所得的頂點三個一組,進行分組:
updateCannon(){
    const vertices = [];
    const faces = [];
    const pos = this.column.geometry.attributes.position;

    for (let i = 0; i < pos.count; i++) {
        const x = pos.array[i * 3];
        const y = pos.array[i * 3 + 1];
        const z = pos.array[i * 3 + 2];
        vertices[i] = new CANNON.Vec3(x, y, z);
    }
    for (let i = 0; i < pos.count / 3; i++) {
        faces[i] = [i * 3, i * 3 + 2, i * 3 + 1];
    }

    // 凸多面體
    const shape = new CANNON.ConvexPolyhedron({ vertices, faces });
    this.column.body.shape = [];
    this.column.body.add(shape);
}
Cannon 的設計允許我們使用多邊形,但我們畢竟千辛萬苦計算出底層的頂點數據了,就直接用三角形交給它,因此直接使用三角形形狀會更方便。
如果我們希望每個柱體是獨立的,也可以分別建立,這樣的好處是當我們在做排序演算法時,不會對物理世界進行大量改動,僅僅調整少量柱體。
column.body = new Array(length).fill().map(() =>{
    const body = new CANNON.Body({
        mass: 0,
        material: this.groundMaterial,
    })
    this.world.addBody(body);
    return body;
});
然後在排序演算法更新頂點的時候,稍微簡化問題,把圓餅切片改成近似的長方體:
column.updateVertices = (index) => {
    //......上略
    const newBoxShape = new CANNON.Box(new CANNON.Vec3(column.depth, 2 * Math.PI / column.length, height));
    column.body[index].shape = [];
    column.body[index].addShape(newBoxShape);
    column.body[index].position.set(x, y, z * 0.1);
    column.body[index].quaternion.setFromEuler(0, 0, startAngle + Math.PI / 2);
}
可惜後半部沒有成功呀!加入過多的碰撞模擬後,導致幀數極低,且除錯變得非常困難。未來我將持續努力,優化效能,並希望能在未來展示更完整的效果!
