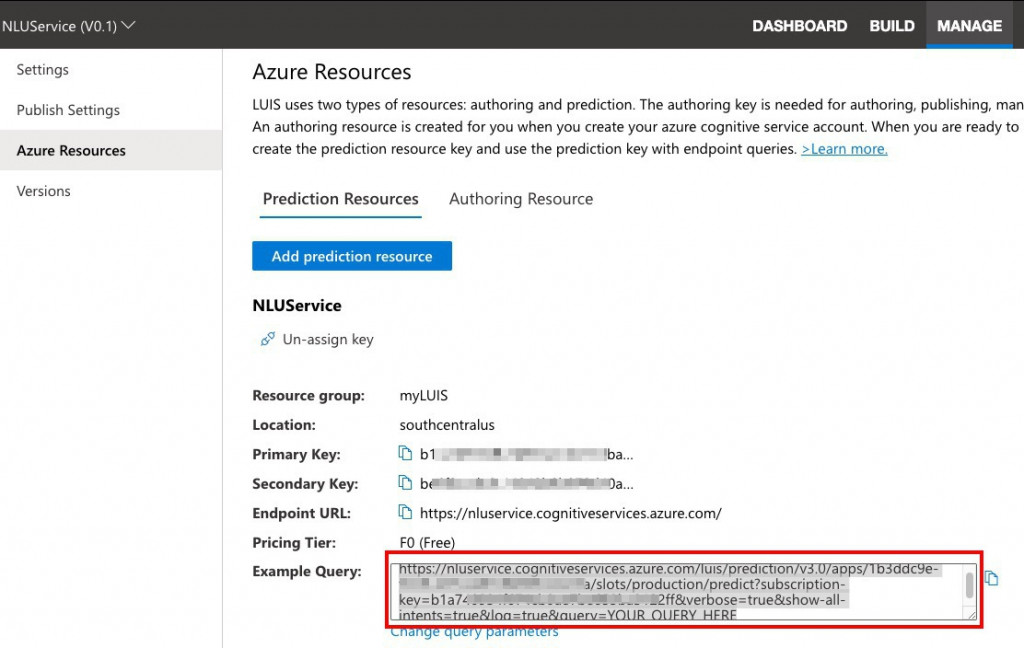
昨天我們已經部署LUIS應用程式,我們來測試一下他的http預測端點,在LUIS入口網頁的Azure Resources,找到Endpoint URL這便是預測端點,下方有個Example Query便是使用預測端點API需要帶的http parameters範例

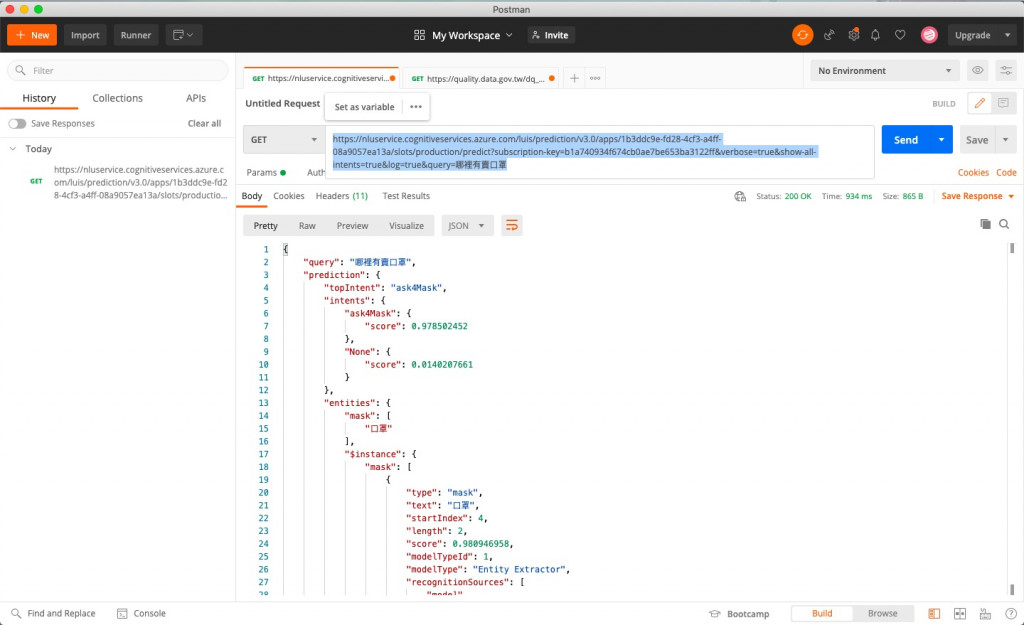
我們修改一下下該請求的query語句,並用postman進行測試

測試結果LUIS返回以下JSON格式資料
{
    "query": "哪裡有賣口罩",
    "prediction": {
        "topIntent": "ask4Mask",
        "intents": {
            "ask4Mask": {
                "score": 0.978502452
            },
            "None": {
                "score": 0.0140207661
            }
        },
        "entities": {
            "mask": [
                "口罩"
            ],
            "$instance": {
                "mask": [
                    {
                        "type": "mask",
                        "text": "口罩",
                        "startIndex": 4,
                        "length": 2,
                        "score": 0.980946958,
                        "modelTypeId": 1,
                        "modelType": "Entity Extractor",
                        "recognitionSources": [
                            "model"
                        ]
                    }
                ]
            }
        }
    }
}
接下來就可以將LUIS整合進聊天機器人嘍!
我們使用適用於 Node.js 的 Language Understanding (LUIS) 用戶端程式庫
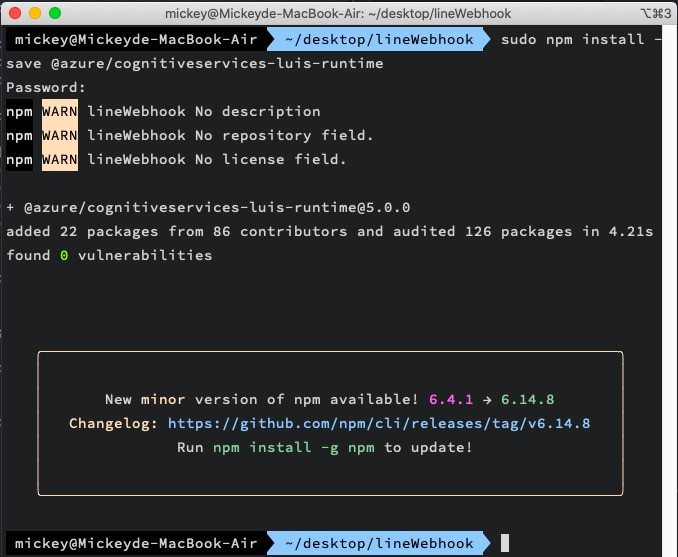
在先前的Azure Functions Webhook專案中安裝會使用到的以下npm moudule:
$ npm install --save @azure/ms-rest-js

$ npm install --save @azure/cognitiveservices-luis-runtime

完成後明天就可以開始修改Webhook程式,將語意理解的工作交給LUIS服務!
