
在【Day - 5】中,我們準備了一個3D模型機器人,下一步是新增核心功能:「錄音」。首先,我計劃設計一個對話用的錄音按鈕。我想讓它位於中心的形狀為大圓形的,提供使用者錄製語音內容,畫面應該會類似於Line APP的錄音。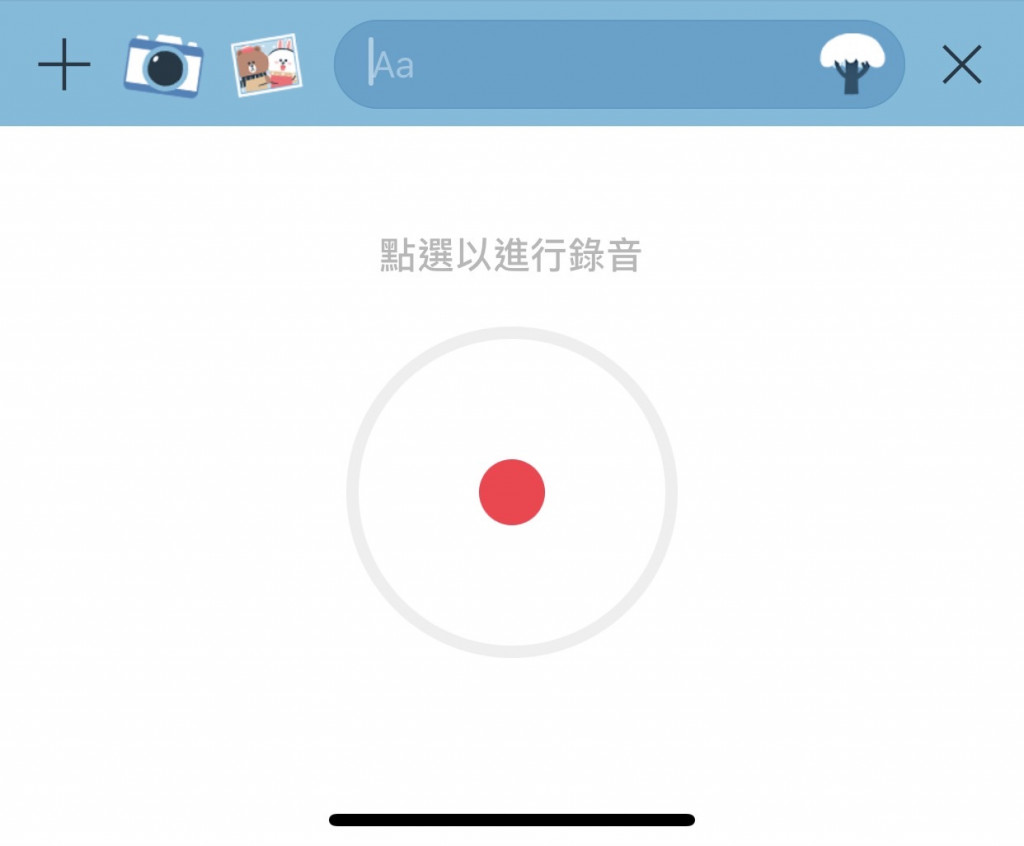
錄音功能我們將透過Capacitor的第三方插件capacitor-voice-recorder。由於錄音功能需要與原生系統互動並請求權限,這些交互都必須透過Capacitor來進行。若自行開發,這個過程可能非常耗時。幸好,這個插件已經幫助我們完成了這些功能,讓我們能夠用更少的程式碼實現這些功能。
透過npm指令進行套件的安裝:
npm i capacitor-voice-recorder
由於該套件是一個插件,因此我們需要使用sync指令同步Android和iOS專案:
npx cap sync
我們建立一個VoiceRecording的元件。然後在voicerecording.component.ts中,準備兩個物件,isRecordingSubject$用於控制錄音的開和關,以及timer$是用於錄音時間的計時器:
//錄音的開關
private isRecordingSubject$: BehaviorSubject<boolean> = new BehaviorSubject<boolean>(false);
//錄音計時器
public timer$ = this.isRecording$.pipe(
  switchMap(isRecording =>
    isRecording ? interval(1000).pipe(
      //使用scan累加每一秒的值,第一次累加會從0開始
      scan(acc => acc + 1, 0),
      //轉換為分鐘和秒數
      map(tick => ({
        minutes: Math.floor(tick / 60),
        seconds: tick % 60
      }))
    ) :
    //如果isRecording$為false,則發出一個重置的時間
    of({ minutes: 0, seconds: 0 })
  ),
  //將分鐘和秒數重新Format成兩位數顯示
  map(timeData => ({
    minutes: timeData.minutes.toString().padStart(2, '0'),
    seconds: timeData.seconds.toString().padStart(2, '0')
  })),
  //初始值
  startWith({ minutes: '00', seconds: '00' }),
  shareReplay(1)
);

get isRecording$(): Observable<boolean> {
  return this.isRecordingSubject$.asObservable();
}
然後在voicerecording.component.html中,加入以下程式碼:
<div class="flex flex-col items-center">
  <div class="text-xl font-bold text-rose-500 text-center">
    <span *ngIf="(isRecording$ | async)">{{ (timer$ | async)?.minutes }} : {{ (timer$ | async)?.seconds }}</span>
  </div>
  <div class="w-24 h-24 flex flex-col items-center rounded-full">
    <ng-container *ngIf="(isRecording$ | async) else isNotRecordingTemplate">
      <div
        class="rounded-full bg-gradient-to-br from-purple-300 to-blue-200 border-4 border-rose-400 flex items-center p-5">
        <ion-icon class="text-5xl text-rose-500" name="mic-outline"></ion-icon>
      </div>
    </ng-container>
    <ng-template #isNotRecordingTemplate>
      <div
        class="rounded-full bg-gradient-to-br from-purple-500 to-blue-400 border-4 border-gray-300 flex items-center p-5">
        <ion-icon class="text-5xl text-white" name="mic-outline"></ion-icon>
      </div>
    </ng-template>
  </div>
</div>
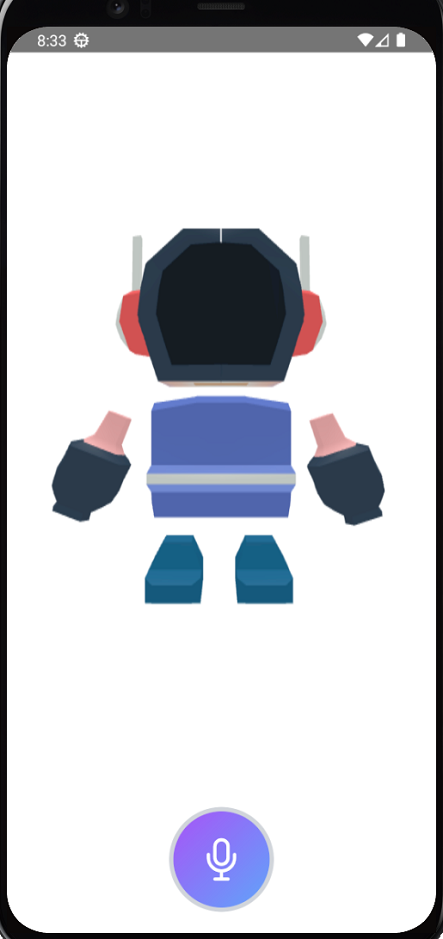
將VoiceRecording元件添加到Home主頁的home.page.html中,並執行編譯,就可以在畫面上看到我們製作的錄音元件:
<div class="w-full h-full bg-white">
  <div class="flex flex-col w-full h-full">
    <div class="relative flex flex-col w-full h-full">
      <!-- 3D機器人動畫 -->
      <app-robot3d class="flex-grow flex-shrink w-full py-20"></app-robot3d>
    </div>
    <div class="flex-none flex flex-row justify-between items-center pb-10 relative">
	  <div class="flex-grow">
        <!-- 錄音按鈕 -->
        <app-voicerecording></app-voicerecording>
      </div>
    </div>
  </div>
</div>
要在Android/iOS平台上,使用麥克風進行語音錄製,必須請求相關權限。Capacitor Voice Recorder套件提供了兩個方法,讓我們能夠快速的請求和檢查這些權限:
我們在voicerecording.component.ts裡面的OnInit()方法中加入權限的請求。這樣一來,每當進入頁面時,系統就會自動檢查並進行權限的請求:
ngOnInit(): void {
  //請求權限
  VoiceRecorder.requestAudioRecordingPermission().then((result: GenericResponse) => console.log(result));
}
如果是Android專案,還需要在android\app\src\main\AndroidManifest.xml的文件中添加RECORD_AUDIO的權限:
<!-- Permissions -->
<uses-permission android:name="android.permission.INTERNET" />
<!-- 接著INTERNET添加即可 -->
<!-- 錄音權限 -->
<uses-permission android:name="android.permission.RECORD_AUDIO" />
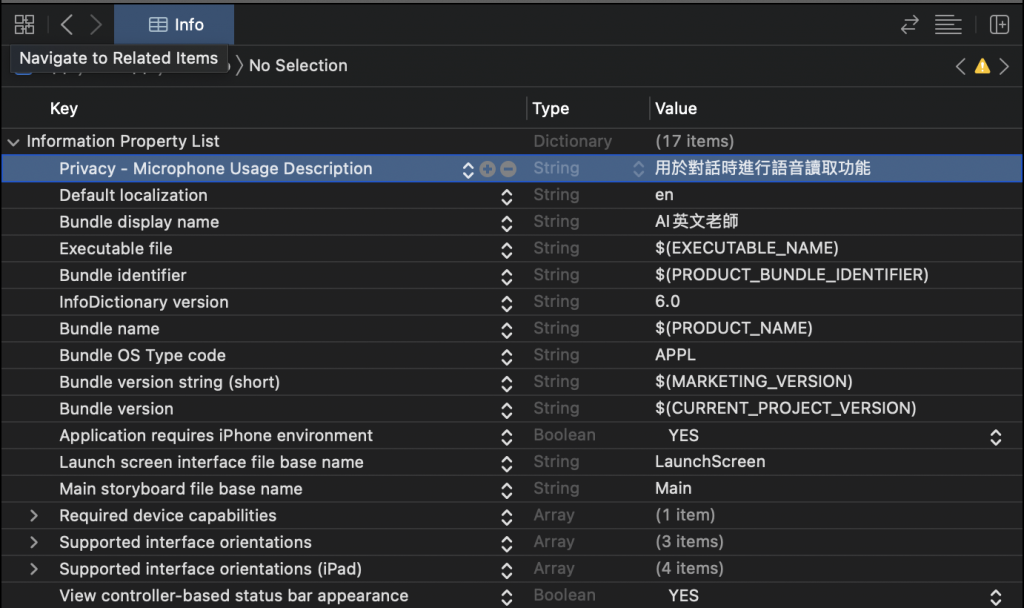
如果是iOS專案,則要在ios\App\App\Info.plist文件上中添加NSMicrophoneUsageDescription,以及相應的提示訊息,或者直接從XCode上添加:
<dict>
  <key>NSMicrophoneUsageDescription</key>
  <string>用於對話時進行語音讀取功能</string>
  .
  .
  .
</dict>
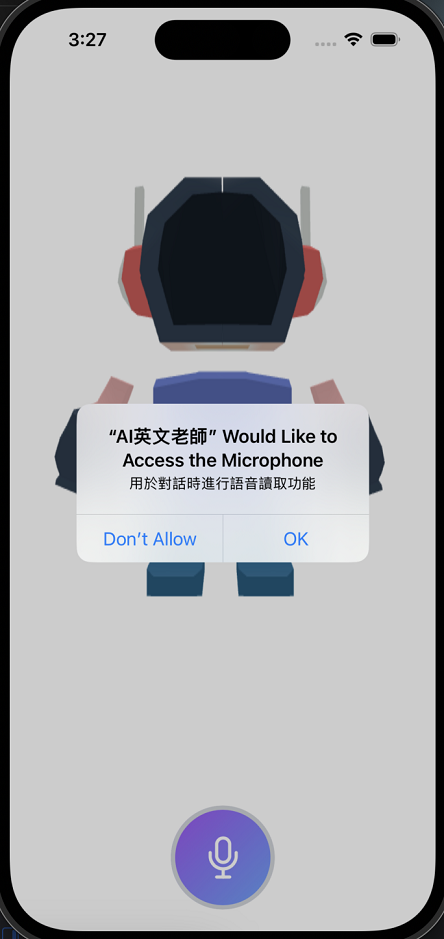
權限添加完成後,第一次開啟APP時,requestAudioRecordingPermission()方法就會自動觸發權限請求的視窗囉!
畫面完成並成功取得錄音權限後,就可以測試錄音功能。我們在voicerecording.component.ts添加以下兩個方法:
OnStartRecordingClick() {
  this.isRecordingSubject$.next(true);
  //開始錄音
  VoiceRecorder.startRecording();
}
OnStopRecordingClick() {
  this.isRecordingSubject$.next(false);
  //停止錄音
  VoiceRecorder.stopRecording().then((result: RecordingData) => {
	if (result.value && result.value.recordDataBase64) {
      alert(result.value.recordDataBase64);
    }
  });
}
通過事件繫結(Event Binding)將上面兩個方法做綁定,如下:
<div class="flex flex-col items-center">
  <div class="text-xl font-bold text-rose-500 h-8 w-full text-center">
    <span *ngIf="(isRecording$ | async)">{{ (timer$ | async)?.minutes }} : {{ (timer$ | async)?.seconds }}</span>
  </div>
  <div class="ion-activatable relative overflow-hidden w-full h-full flex flex-col items-center rounded-full">
    <ng-container *ngIf="(isRecording$ | async) else isNotRecordingTemplate">
      <!-- 綁定Click Event -->
      <div (click)="OnStopRecordingClick()"
        class=" rounded-full bg-gradient-to-br from-purple-300 to-blue-200 border-4 border-rose-400 flex items-center p-5">
        <ion-icon class="text-5xl text-rose-500" name="mic-outline"></ion-icon>
      </div>
    </ng-container>
    <ng-template #isNotRecordingTemplate>
      <!-- 綁定Click Event -->
      <div (click)="OnStartRecordingClick()"
        class="rounded-full bg-gradient-to-br from-purple-500 to-blue-400 border-4 border-gray-300 flex items-center p-5">
        <ion-icon class="text-5xl text-white" name="mic-outline"></ion-icon>
      </div>
    </ng-template>
    <ion-ripple-effect></ion-ripple-effect>
  </div>
</div>
最後我們就可以開始測試錄音功能了!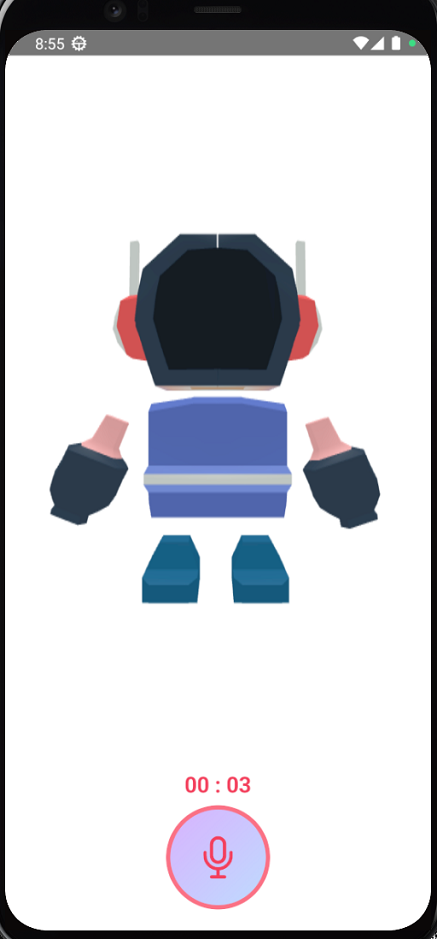
在下圖可以看到,完成錄音後,音訊會以Base64字串的方式呈現,這樣的設計使得後續音檔的處理變得更加方便呢!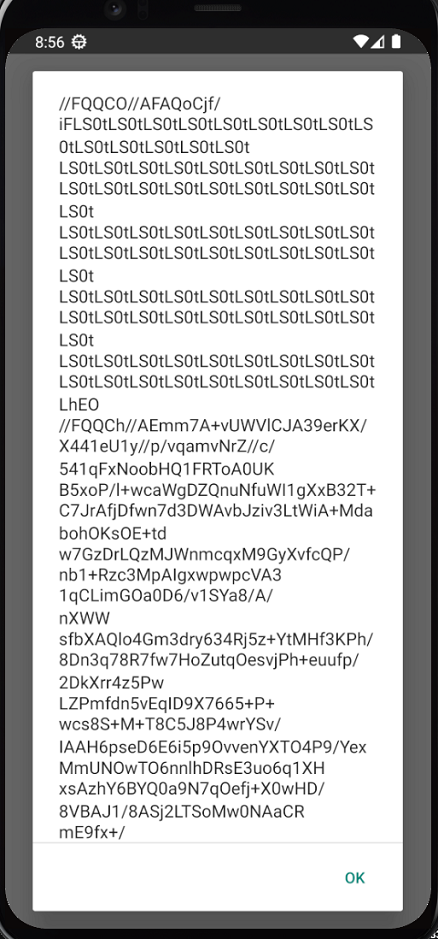
在Ionic專案中,搭配Capacitor的第三方套件協助下,我們可以與原生系統溝通並輕鬆的進行權限請求,這大幅簡化了開發流程。關於Capacitor的格式插件,不僅有Capacitor官方內建的Plugin,Capacitor Community Plugin更提供了多種不同的功能性插件。這讓我們能在Ionic中輕易的實現這些原生功能,並更靈活的創建出符合使用者需求的APP哦!
Github專案程式碼:Ionic結合ChatGPT - Day6
